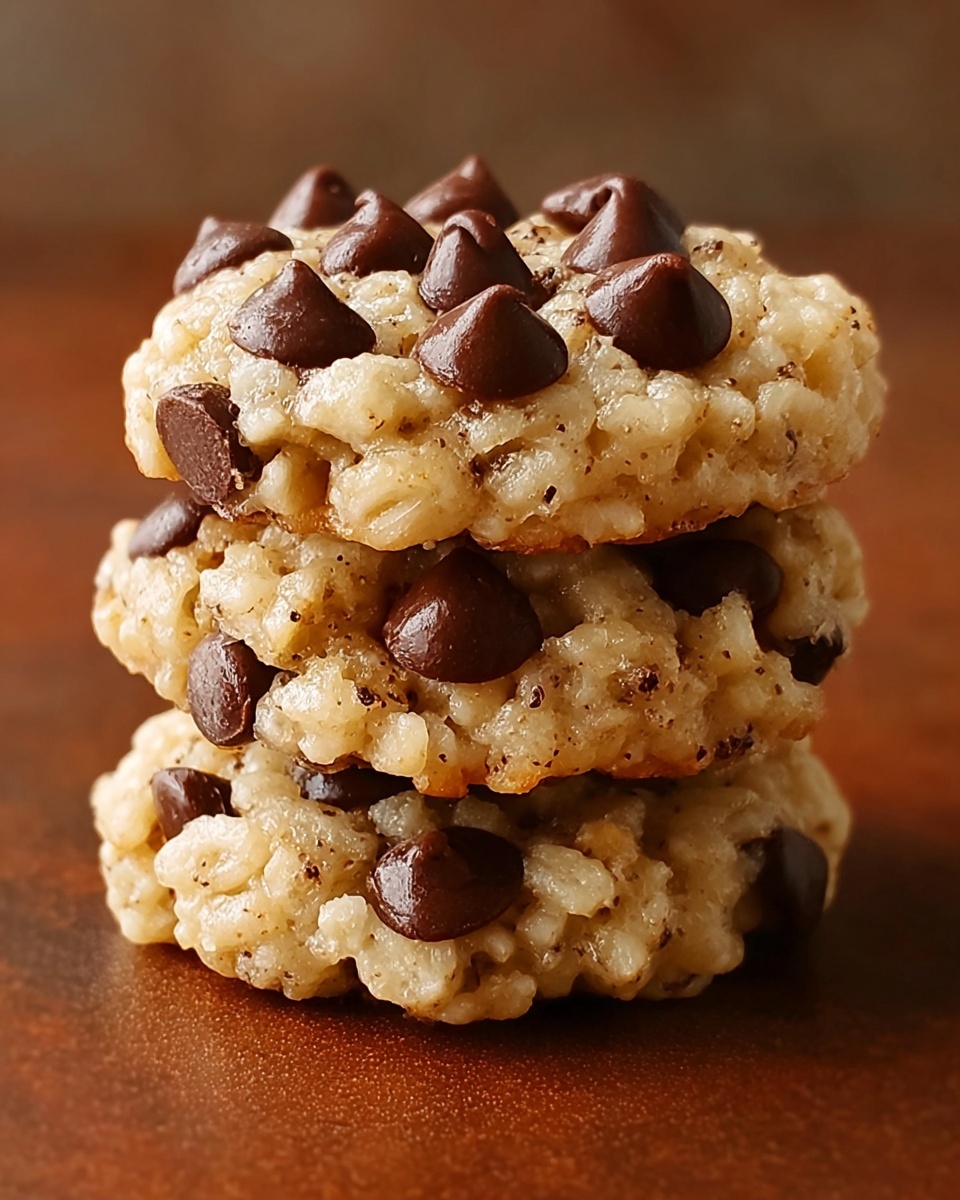
If you are on the lookout for a cookie that pairs the best of classic comfort with a delightful crunch, you have just found your new go-to treat with this Rice Krispie Chocolate Chip Cookies Recipe. Imagine biting into a soft, chewy cookie studded with melty chocolate chips and the irresistible crispiness of Rice Krispies cereal. This combination creates a perfect texture contrast that will keep you reaching for just one more. Easy to whip up and endlessly satisfying, these cookies bring a fresh twist to your cookie jar favorites and are guaranteed to become a beloved staple in your baking repertoire.
Ingredients You’ll Need
Gathering the right ingredients is the first step toward cookie bliss. Each component in this recipe is simple yet essential, contributing to the flavor, texture, and irresistible aroma of your Rice Krispie Chocolate Chip Cookies. From the rich butter to the crunchy cereal, each ingredient plays a starring role in creating these delicious treats.
- 1/2 cup unsalted butter, softened: Provides a creamy base and tender crumb.
- 1/2 cup granulated sugar: Adds sweetness and helps with the cookie’s chewiness.
- 1/2 cup packed brown sugar: Brings moisture and a subtle caramel undertone.
- 1 large egg: Binds ingredients and adds richness.
- 1 teaspoon vanilla extract: Enhances the overall flavor with warm notes.
- 1 1/4 cups all-purpose flour: Gives structure to your cookies.
- 1/2 teaspoon baking soda: Helps cookies rise and stay soft.
- 1/4 teaspoon salt: Balances the sweetness and intensifies flavors.
- 1 cup semi-sweet chocolate chips: Delivers those classic melty chocolate moments.
- 1 cup Rice Krispies cereal: Adds the signature crunch that sets these cookies apart.
How to Make Rice Krispie Chocolate Chip Cookies Recipe
Step 1: Preheat the Oven
Start by preheating your oven to 350°F (175°C). While it warms up, line a baking sheet with parchment paper to ensure your cookies bake evenly without sticking, making cleanup a breeze.
Step 2: Cream the Butter and Sugars
In a large mixing bowl, cream together the softened butter, granulated sugar, and brown sugar until the mixture becomes light, fluffy, and pale. This step is crucial because it incorporates air into the dough, which helps to create that perfect cookie texture.
Step 3: Add Wet Ingredients
Beat in the egg and vanilla extract until fully combined. The egg adds moisture and richness, while the vanilla brings a lovely aromatic quality that makes the whole batch smell irresistible.
Step 4: Mix the Dry Ingredients
Whisk together the all-purpose flour, baking soda, and salt in a separate bowl. Gradually add this dry mixture to the wet ingredients, mixing gently until just combined—overmixing here can make the cookies tough.
Step 5: Fold in the Mix-ins
Delicately fold in the semi-sweet chocolate chips and Rice Krispies cereal. Be careful not to crush the cereal because its light crunch is what makes these cookies truly special.
Step 6: Shape and Bake
Scoop tablespoon-sized portions of dough onto your prepared baking sheet, spacing them about 2 inches apart to allow room for spreading. Bake for 10 to 12 minutes until the edges turn lightly golden but the centers still look slightly underbaked—this keeps them soft and chewy.
Step 7: Cool the Cookies
Once baked, let the cookies rest on the baking sheet for 5 minutes before moving them to a wire rack to cool completely. This resting time helps them firm up without losing their tender texture.
How to Serve Rice Krispie Chocolate Chip Cookies Recipe
Garnishes
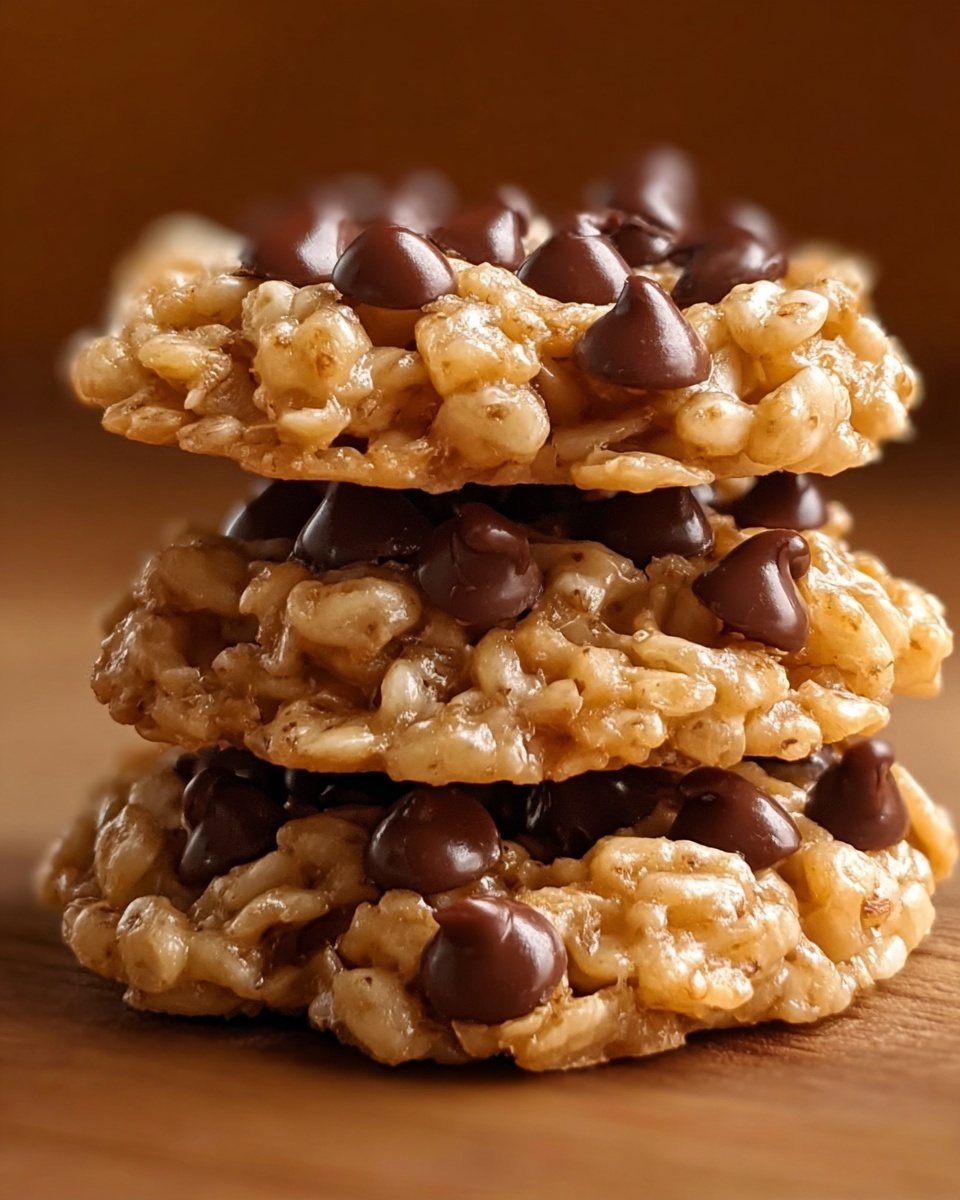
If you’re feeling extra festive, sprinkle a few extra Rice Krispies or chocolate chips on top of warm cookies for added flair and crunch. A light dusting of powdered sugar can also add a hint of sweetness and make these cookies look picture-perfect.
Side Dishes
These cookies shine wonderfully alongside a cold glass of milk, a cup of rich hot chocolate, or even a scoop of vanilla ice cream for dessert. They’re also great for packing in lunchboxes or sharing over coffee with friends.
Creative Ways to Present
For a fun twist, stack the cookies with alternating layers of Nutella or peanut butter and then chill them to create cookie sandwiches. Another idea is to crumble these cookies over a bowl of yogurt or ice cream as a crunchy topping, adding a nostalgic twist to everyday snacks.
Make Ahead and Storage
Storing Leftovers
Store your leftover Rice Krispie Chocolate Chip Cookies in an airtight container at room temperature to keep their chewy texture intact. They should stay fresh for up to 4 days, though they rarely last that long!
Freezing
If you want to save these delightful cookies for later, freeze them in a single layer on a baking sheet, then transfer them to a freezer bag once solid. They will keep well for up to 3 months and thaw quickly at room temperature.
Reheating
To bring back that fresh-baked warmth, microwave a cookie for 10 to 15 seconds or warm them in a preheated oven at 300°F (150°C) for about 5 minutes. This short reheating revives the gooey chocolate and crisp Rice Krispies beautifully.
FAQs
Can I substitute the Rice Krispies with another cereal?
Absolutely! While Rice Krispies provide a unique light crunch, you can try cereals like Corn Flakes or Cheerios for different textures and flavors. Just be mindful that the overall crunch and taste will slightly change with substitutions.
Do I need to chill the dough before baking?
This recipe doesn’t require chilling the dough, which makes it perfect for a quick baking session. However, chilling can help cookies spread less and can result in a denser texture if you prefer that.
Can I use milk chocolate or white chocolate chips instead?
Yes, feel free to swap out semi-sweet chocolate chips for milk or white chocolate varieties. Each will bring its own sweetness and creaminess, tailoring the cookies to your preference.
Is it possible to make these cookies gluten-free?
To make these gluten-free, substitute the all-purpose flour with a gluten-free flour blend that measures cup-for-cup. Just ensure your baking soda and other ingredients are also gluten-free certified.
How do Rice Krispie Chocolate Chip Cookies compare to traditional chocolate chip cookies?
The addition of Rice Krispies adds a delightful crunch that contrasts with the soft, chewy texture of traditional chocolate chip cookies. They offer an exciting blend of textures and a nostalgic cereal flavor that’s unique and fun.
Final Thoughts
Now that you have the perfect Rice Krispie Chocolate Chip Cookies Recipe at your fingertips, it’s time to get baking and experience this charming twist on a classic favorite. With every bite, you’ll enjoy that wonderful combination of chocolatey goodness and crispy cereal crunch. Share these cookies with loved ones or savor them as a special treat just for yourself—either way, they’re bound to become a cherished recipe in your collection.
Print
Rice Krispie Chocolate Chip Cookies Recipe
- Prep Time: 10 minutes
- Cook Time: 12 minutes
- Total Time: 22 minutes
- Yield: 24 cookies
- Category: Dessert
- Method: Baking
- Cuisine: American
Description
Delight in these crunchy and chewy Rice Krispie Chocolate Chip Cookies that combine the classic flavors of chocolate chip cookies with the added crisp texture of Rice Krispies cereal. Perfect for snack time or a sweet treat, these cookies bake up golden and have a delightful balance of softness and crunch.
Ingredients
Wet Ingredients
- 1/2 cup unsalted butter, softened
- 1/2 cup granulated sugar
- 1/2 cup packed brown sugar
- 1 large egg
- 1 teaspoon vanilla extract
Dry Ingredients
- 1 1/4 cups all-purpose flour
- 1/2 teaspoon baking soda
- 1/4 teaspoon salt
Mix-ins
- 1 cup semi-sweet chocolate chips
- 1 cup Rice Krispies cereal
Instructions
- Preheat the Oven: Preheat your oven to 350°F (175°C) and line a baking sheet with parchment paper to prevent sticking and ensure even baking.
- Cream the Butter and Sugars: In a large mixing bowl, use a hand or stand mixer to cream together the softened butter, granulated sugar, and brown sugar until the mixture is light and fluffy, creating a smooth base for your cookie dough.
- Add Wet Ingredients: Beat in the egg and vanilla extract into the creamed mixture until fully incorporated, ensuring the dough will have moisture and flavor.
- Mix the Dry Ingredients: In a separate bowl, whisk together the all-purpose flour, baking soda, and salt. Gradually add these dry ingredients to the wet ingredients, mixing gently until just combined to avoid overworking the dough.
- Fold in the Mix-ins: Carefully fold in the semi-sweet chocolate chips and Rice Krispies cereal, taking care not to crush the cereal too much, so the cookies maintain their delightful crunch.
- Shape and Bake: Using a tablespoon, scoop portions of dough onto the prepared baking sheet, spacing them about 2 inches apart to allow for spreading during baking. Bake for 10–12 minutes, or until the edges are lightly golden and the centers appear slightly underbaked for a chewy texture.
- Cool the Cookies: Let the cookies cool on the baking sheet for 5 minutes, allowing them to firm up before transferring them to a wire rack to cool completely, preserving their texture and flavor.
Notes
- Do not overmix the dough once the flour is added to keep the cookies tender.
- For crispier cookies, bake an additional 1-2 minutes but watch closely to prevent burning.
- Store cookies in an airtight container to maintain freshness and crunch.
- You can substitute the semi-sweet chocolate chips with dark or milk chocolate chips according to your preference.
- Ensure the butter is softened and not melted for proper creaming and texture.

