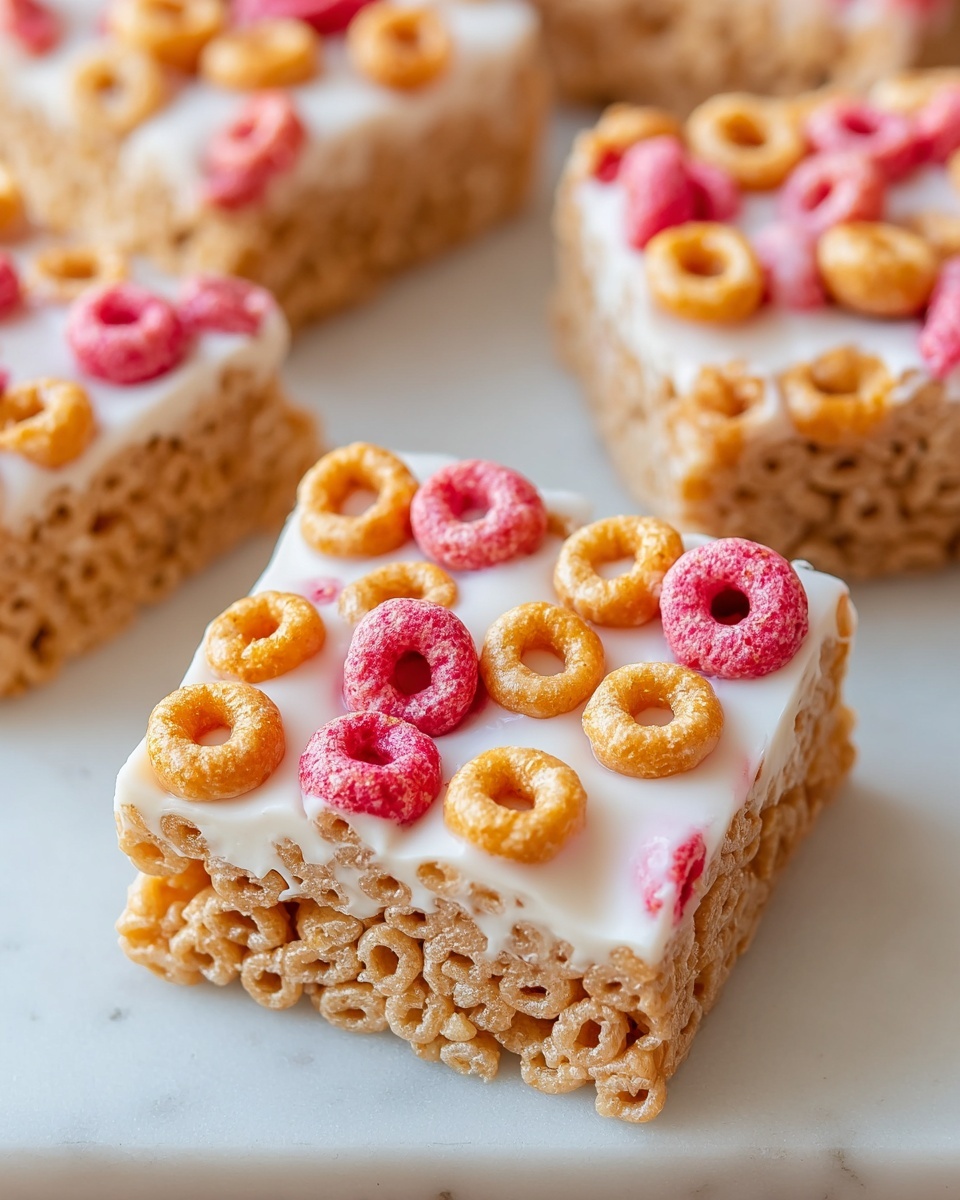
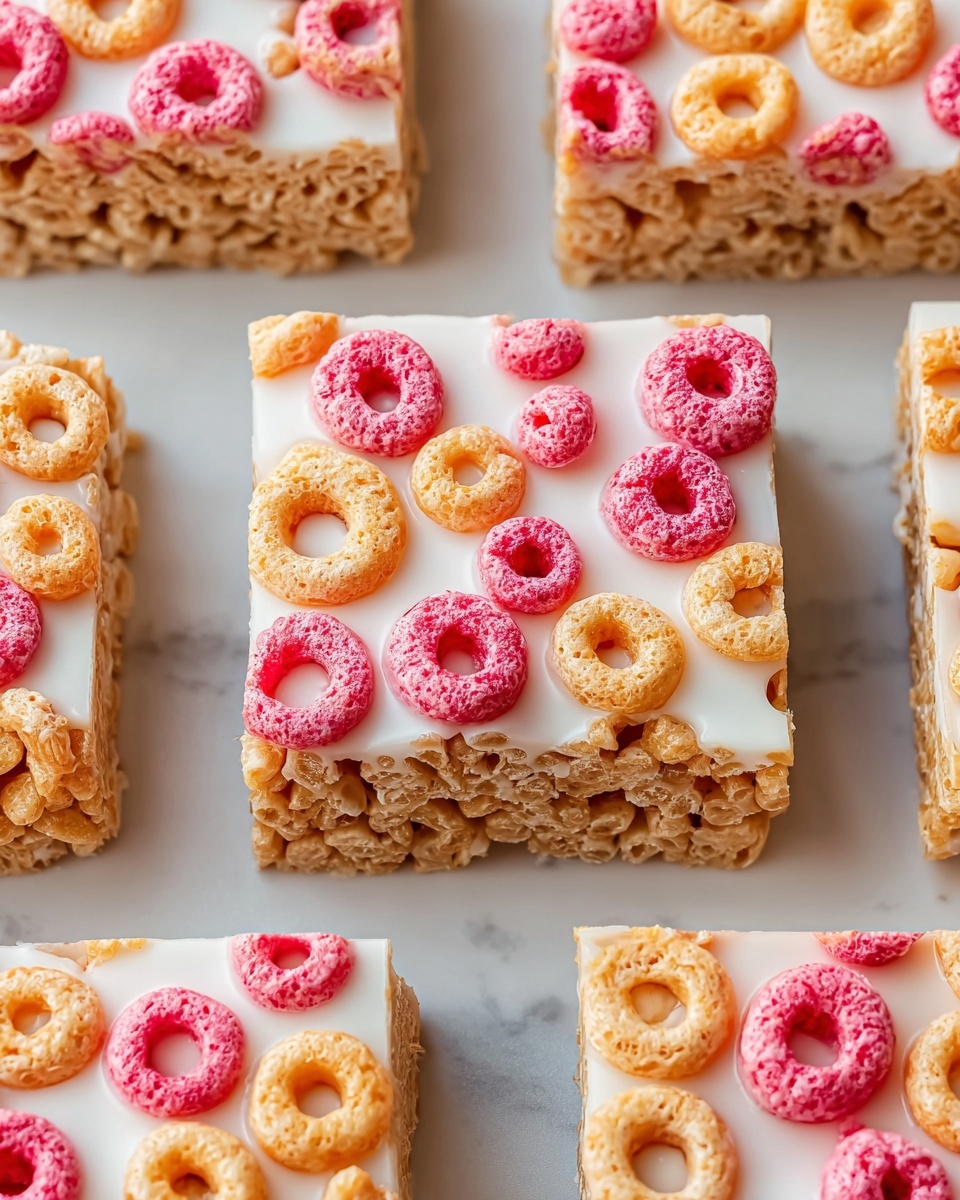
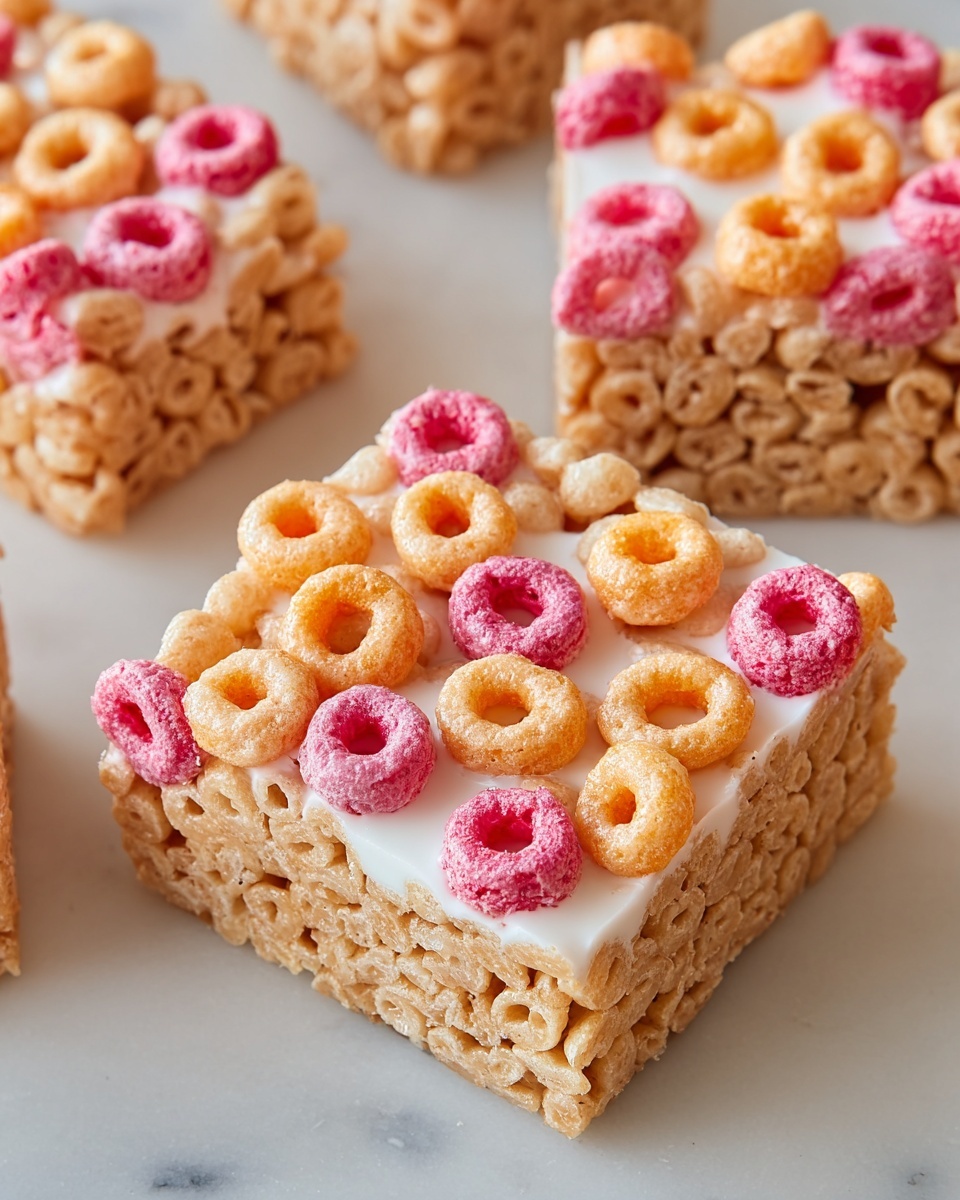
If you’ve ever craved a snack that’s both wholesome and irresistibly satisfying, you are going to love this Homemade Cereal Bars Recipe. Imagine the perfect balance of chewy oats, crunchy nuts, and the natural sweetness of dried fruits all held together by luscious nut butter and honey. These bars are a snack-time game-changer, delivering a delightful texture and energy boost that’s perfect any time of day. Plus, making them from scratch means you get to customize flavors and ingredients exactly to your liking—all without any mystery additives. Let me share with you how simple and rewarding it is to whip up your very own batch of these delicious cereal bars.
Ingredients You’ll Need
Gathering wholesome, straightforward ingredients is key to this recipe’s charm. Each one plays a unique role, whether it’s adding texture, flavor, or that natural hint of sweetness that makes these bars a standout.
- Rolled oats: The base of the bars, providing a hearty and chewy texture that holds everything together.
- Nut butter (almond or peanut): Acts as a natural binder while adding creamy richness and depth of flavor.
- Honey or maple syrup: The all-natural sweetener that infuses the bars with just the right amount of sweetness and helps with binding.
- Dried fruits (raisins, cranberries, or apricots): Bursts of fruity chewiness that give each bite a satisfying contrast and vibrant color.
- Chopped nuts (almonds, walnuts, or pumpkin seeds): Adds crunch and a nutty aroma that complements the other ingredients wonderfully.
How to Make Homemade Cereal Bars Recipe
Step 1: Prepare Your Baking Dish
Start by preheating your oven to 350°F (175°C) and lining an 8×8-inch baking dish with parchment paper. This step ensures your bars don’t stick and come out easily in perfect squares.
Step 2: Mix Dry Ingredients
In a large bowl, combine the rolled oats, chopped nuts, and dried fruits. This trio forms the delightful textured core of the bars, balancing chewiness and crunch in every bite.
Step 3: Combine Nut Butter and Sweetener
In a separate bowl, whisk together your nut butter and honey or maple syrup until they form a smooth, silky mixture. This blend is essential because it naturally binds the dry ingredients while adding luscious flavor.
Step 4: Bring It All Together
Pour the nut butter and honey mixture over the dry ingredients. Stir until everything is evenly coated — this ensures every piece has a kiss of sweetness and richness that holds the bars together perfectly.
Step 5: Bake to Perfection
Press the mixture firmly into your prepared baking dish using a spatula or greased hands to create an even layer. Pop it into the oven and bake for 20-25 minutes until the top turns lightly golden and inviting. Allow the bars to cool completely before slicing to maintain their shape and texture.
How to Serve Homemade Cereal Bars Recipe
Garnishes
These bars are delicious on their own but topping them with a drizzle of melted dark chocolate or a sprinkle of shredded coconut can take your snack to the next level. Fresh berries on the side add a refreshing contrast and a pop of color.
Side Dishes
Pair your cereal bars with a cup of warm tea or a smoothie for a balanced and energizing snack. A dollop of Greek yogurt on the side complements the chewy texture with creamy tanginess, making your snack feel more indulgent and wholesome.
Creative Ways to Present
For a fun twist, try cutting the bars into bite-sized cubes and threading them onto skewers with fresh fruit chunks for an easy grab-and-go treat at your next gathering. These cereal bars also pack wonderfully into lunch boxes as a morning boost or afternoon pick-me-up.
Make Ahead and Storage
Storing Leftovers
Once your cereal bars have cooled completely, store them in an airtight container at room temperature. They stay fresh and chewy for up to a week, making it easy to enjoy a quick snack anytime you want without any hassle.
Freezing
If you’d like to keep them longer, these bars freeze brilliantly. Wrap individual bars tightly in plastic wrap and place them in a freezer-safe container or bag. They will safely keep their flavor and texture for up to 3 months. Thaw at room temperature before enjoying.
Reheating
For that fresh-baked warmth, simply pop a bar in the microwave for 15 to 20 seconds. This softens the nut butter and deepens the comforting aroma, making the snack feel freshly made all over again.
FAQs
Can I use other types of nut butter in this Homemade Cereal Bars Recipe?
Absolutely! Feel free to experiment with cashew butter, sunflower seed butter, or even tahini. Each brings its own unique flavor and texture, allowing you to tailor the bars to your personal taste.
Are these bars suitable for a gluten-free diet?
They can be! Just make sure to use certified gluten-free rolled oats and double-check that your nuts and dried fruits haven’t been cross-contaminated. This way, you can enjoy this Homemade Cereal Bars Recipe comfortably if you’re gluten-sensitive.
Can I substitute the dried fruits for fresh ones?
Fresh fruits contain much more moisture, which would make the bars soggy and difficult to hold together after baking. Sticking to dried fruits helps maintain that chewy texture and longer shelf life.
What’s the best way to make these bars vegan?
Simply swap the honey for maple syrup or agave nectar. This keeps the recipe entirely plant-based without sacrificing sweetness or binding power.
How do I prevent the bars from crumbling?
The key is firmly pressing the mixture into the baking dish and allowing the bars to cool completely before slicing. The nut butter and honey act as natural binders, but cooling ensures they solidify and hold together beautifully.
Final Thoughts
I cannot recommend enough giving this Homemade Cereal Bars Recipe a try, whether you’re seeking a healthy snack or a homemade gift to impress friends and family. They’re simple to make, endlessly customizable, and satisfy that sweet-crunch craving without any guilt. Trust me, once you’ve experienced these bars fresh from your own oven, they’ll quickly become a staple in your kitchen. So gather your ingredients and start mixing – your new favorite snack awaits!
Print
Homemade Cereal Bars Recipe
- Prep Time: 10 minutes
- Cook Time: 25 minutes
- Total Time: 35 minutes
- Yield: 12 servings
- Category: Snack
- Method: Baking
- Cuisine: American
- Diet: Vegetarian
Description
These Homemade Cereal Bars are a wholesome, delicious snack made from rolled oats, nut butter, honey, dried fruits, and nuts. Perfect for a quick breakfast or an energetic snack, they combine natural sweetness and crunch without any preservatives or artificial ingredients.
Ingredients
Dry Ingredients
- 2 cups rolled oats
- 1 cup dried fruits (raisins, cranberries, or apricots)
- 1/2 cup chopped nuts (almonds, walnuts, or pumpkin seeds)
Wet Ingredients
- 1 cup nut butter (almond or peanut)
- 1/2 cup honey or maple syrup
Instructions
- Preheat Oven: Preheat your oven to 350°F (175°C) and line an 8×8-inch baking dish with parchment paper to prevent sticking and make removal easier.
- Mix Dry Ingredients: In a large bowl, thoroughly combine the rolled oats, chopped nuts, and dried fruits to distribute the ingredients evenly.
- Combine Wet Ingredients: In a separate bowl, mix the nut butter and honey until smooth and fully blended to ensure even coating.
- Combine Mixtures: Pour the wet mixture over the dry ingredients and stir until all the oats, nuts, and fruits are evenly coated with the nut butter-honey blend.
- Press Into Pan: Transfer the mixture into the prepared baking dish and firmly press it down using a spatula or greased hands to compact the bars and help them hold together.
- Bake: Bake in the preheated oven for 20-25 minutes or until the bars become lightly golden on top, indicating they are cooked through.
- Cool and Slice: Remove from the oven and allow the bars to cool completely in the pan to set fully, then lift them out using the parchment paper and slice into 12 squares for serving.
Notes
- For variety, substitute dried fruits and nuts according to preference.
- Pressing the mixture firmly into the pan helps the bars hold together after baking.
- Store bars in an airtight container at room temperature for up to a week or refrigerate to extend freshness.
- Honey can be replaced with maple syrup to keep the recipe vegan-friendly.
- Using parchment paper makes clean removal and slicing easier without sticking.


