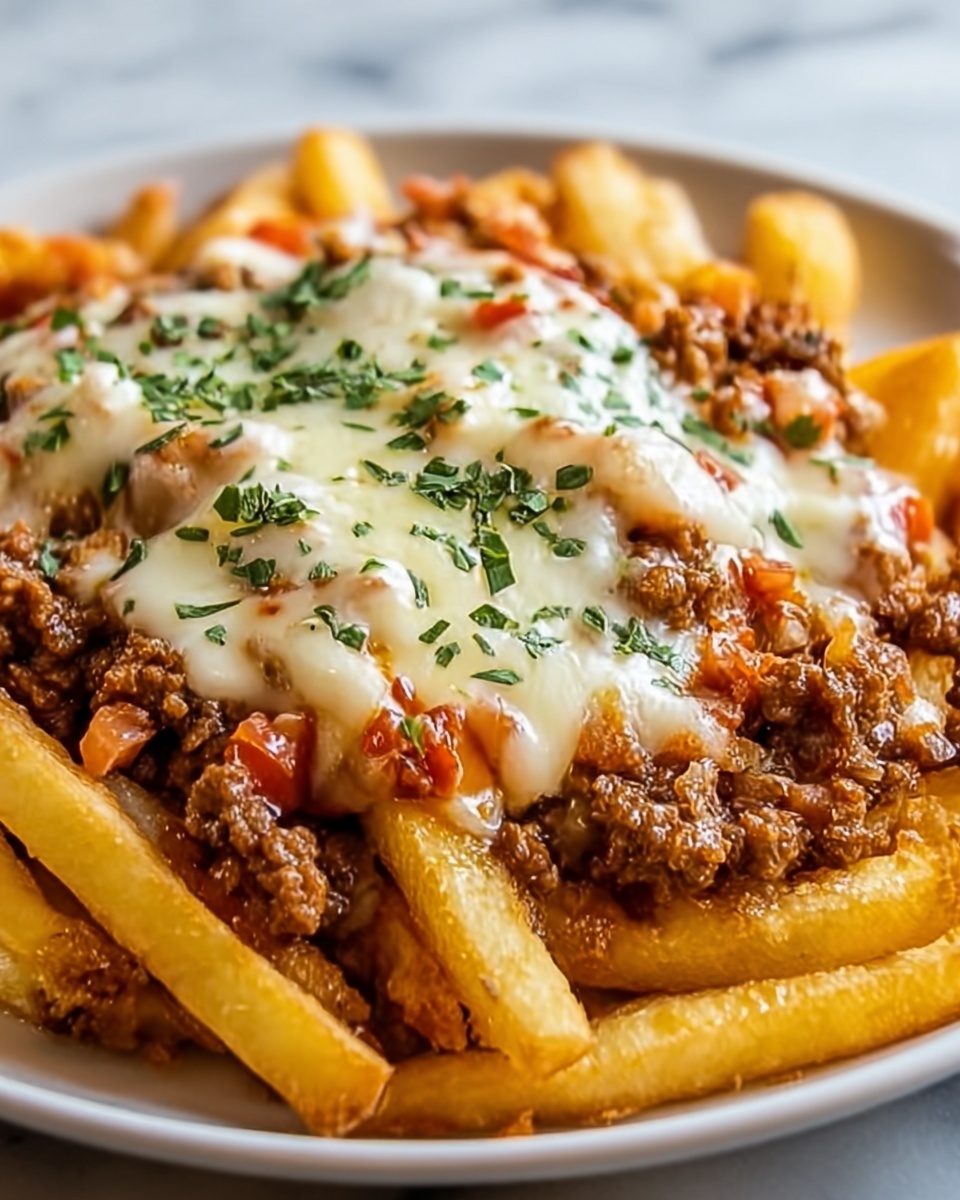
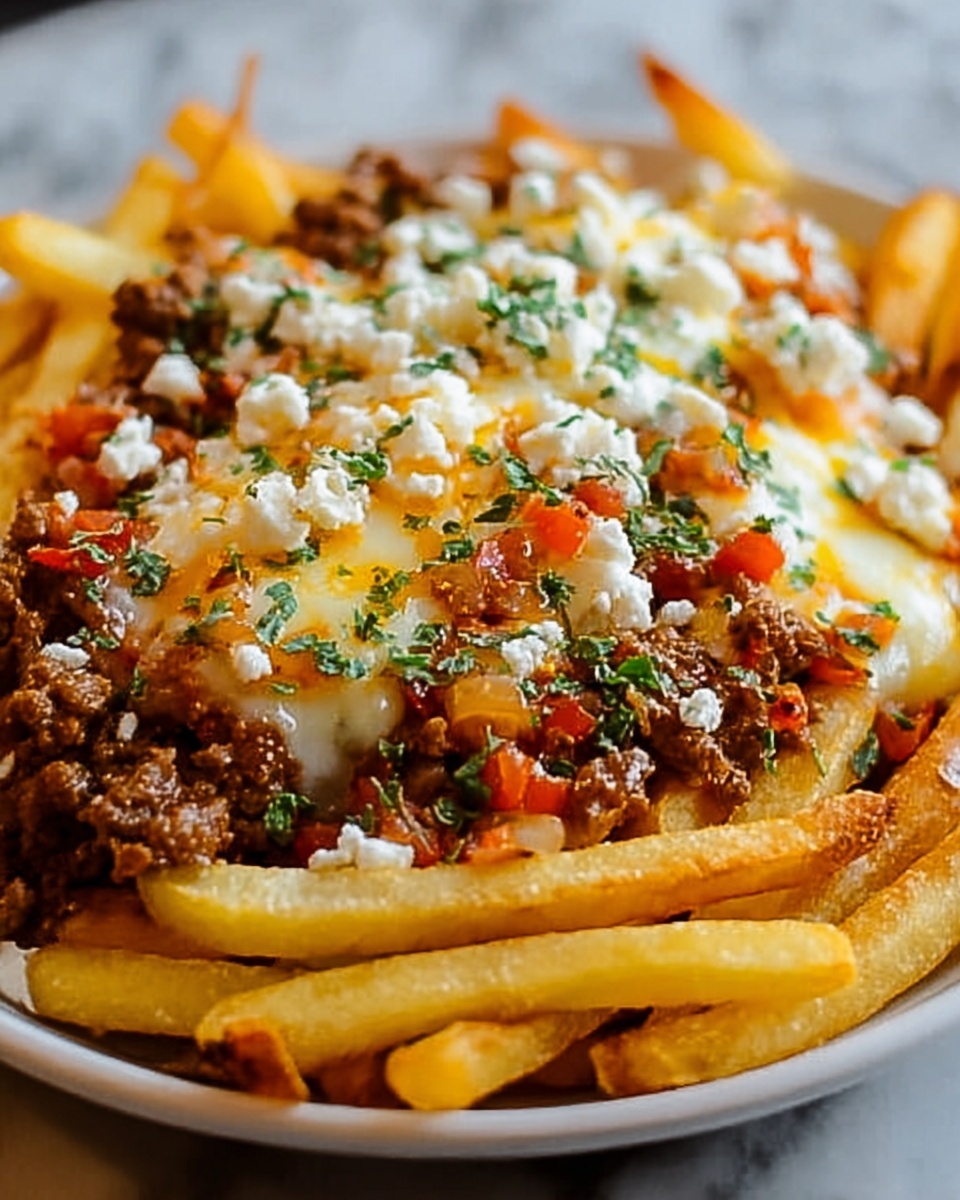
If you are craving a vibrant, indulgent snack that combines crispiness, bold flavors, and gooey cheese, look no further than this Loaded Nacho Fries with Taco Seasoned Beef and Cheese Recipe. This dish takes simple seasoned fries and elevates them into a crowd-pleasing delight by layering them with savory taco-spiced beef and plentiful melted cheese. Perfect for game days, casual get-togethers, or just a fun weeknight treat, these loaded nacho fries deliver a satisfying crunch balanced with rich, cheesy goodness and a zesty kick that will have you coming back for more.
Ingredients You’ll Need
These ingredients are straightforward but absolutely essential to create the perfect texture and flavor profile for your loaded nacho fries. Each component plays a vital role, from the crispy fries offering a sturdy base to the seasoned beef providing a robust, spicy punch, all tied together with luscious melted cheese that brings everything home.
- 2-pound bag of seasoned fries: Choose a sturdy seasoned fry that crisps up well to hold all those toppings without getting soggy too quickly.
- 1 pound ground hamburger meat: This provides the hearty protein foundation, absorbing all the taco seasoning for that bold flavor.
- Taco seasoning mix: A blend of spices that infuses the beef with a perfect balance of heat, smokiness, and savory notes.
- Shredded cheese: Use a cheese that melts beautifully, like cheddar or a Mexican blend, to create that irresistible gooey layer.
How to Make Loaded Nacho Fries with Taco Seasoned Beef and Cheese Recipe
Step 1: Prepare Crispy Fries
Start by cooking the seasoned fries according to the package instructions until they are golden and crunchy. This crispy base is crucial because it needs to hold up under the toppings without becoming limp.
Step 2: Brown the Taco Seasoned Beef
While the fries cook, heat a skillet over medium heat and brown the ground hamburger meat. Sprinkle in the taco seasoning as directed on the packet, stirring well to coat every bite with that iconic spicy kick.
Step 3: Melt the Cheese Over the Beef
Once the beef is fully browned and flavorful, evenly sprinkle shredded cheese on top right in the skillet. Let it melt gently over the meat until it’s luscious and stringy, locking in all those mouthwatering flavors.
Step 4: Arrange the Fries on a Serving Plate
Lay the hot crispy fries out on a large plate or platter. This will be the foundation for your loaded nacho masterpiece, allowing for an even spread of toppings.
Step 5: Layer the Taco Beef and Cheese Mixture
Generously spoon the taco-seasoned beef and melted cheese over the bed of fries. The warm, seasoned beef mingling with crispy fries and cheese creates that delightful combination everyone loves.
Step 6: Serve Immediately and Enjoy
Serve your Loaded Nacho Fries with Taco Seasoned Beef and Cheese Recipe hot for the best experience. Each bite delivers a crispy, cheesy, flavorful explosion that’s impossible to resist.
How to Serve Loaded Nacho Fries with Taco Seasoned Beef and Cheese Recipe
Garnishes
To elevate your loaded nacho fries, add fresh garnishes like chopped cilantro, sliced jalapeños for a spicy punch, diced tomatoes, or diced red onions. A dollop of sour cream or guacamole on the side brings a cooling and creamy contrast to the spiced beef and crispy fries.
Side Dishes
This dish stands strong on its own but pairs beautifully with simple sides like a crunchy green salad or fresh salsa. For gatherings, serve alongside chips and queso or a zesty corn salad to complement the richness.
Creative Ways to Present
Feeling adventurous? Try layering the loaded nacho fries in individual cups for easy, mess-free serving at parties. Or create a “loaded nacho fries bar” where guests can personalize their toppings from an array of salsas, cheeses, and fresh herbs.
Make Ahead and Storage
Storing Leftovers
If you have leftovers, transfer them to an airtight container and store in the refrigerator for up to 2 days. Keep in mind fries may soften, but the beef and cheese flavors will stay delicious.
Freezing
While freezing loaded nacho fries isn’t ideal due to texture changes, you can freeze the taco seasoned beef portion separately in a sealed container for up to 3 months. Reheat and add fresh fries when ready to serve.
Reheating
To bring leftovers back to life, spread fries on a baking sheet and warm in a preheated oven at 350°F (175°C) until crisp again. Heat the beef and cheese mixture separately in a skillet, then combine before serving.
FAQs
Can I use frozen regular fries instead of seasoned fries?
Absolutely! While seasoned fries add a little extra flavor without extra work, using your favorite frozen fries and seasoning them yourself is a great substitute.
What cheeses work best for this recipe?
Cheddar, Monterey Jack, or Mexican cheese blends melt wonderfully and complement the taco beef perfectly.
Is there a vegetarian alternative to hamburger meat?
Yes! Try substituting with plant-based taco crumbles or seasoned black beans for a flavorful meatless version.
Can I prepare parts of this recipe in advance?
Definitely. You can cook and season the beef ahead of time and reheat it when your fries are ready, speeding up assembly.
How spicy is this recipe?
The spice level depends on your taco seasoning choice. Using mild seasoning keeps it accessible, while hot blends ramp up the heat for spice lovers.
Final Thoughts
I really encourage you to give this Loaded Nacho Fries with Taco Seasoned Beef and Cheese Recipe a try—it’s such a fun, flavorful dish that always impresses. Whether you’re feeding friends or treating yourself, these loaded fries bring together the best textures and tastes with such ease. Once you taste that crispy crunch paired with savory taco beef and melty cheese, you’ll wonder why you hadn’t made this sooner!
Print
Loaded Nacho Fries with Taco Seasoned Beef and Cheese Recipe
- Prep Time: 5 minutes
- Cook Time: 20 minutes
- Total Time: 25 minutes
- Yield: 4 to 4.4 servings
- Category: Snack
- Method: Stovetop
- Cuisine: Mexican-American
Description
This Nacho Fries recipe features crispy seasoned fries topped with savory taco-seasoned hamburger meat and melted cheese, creating a delicious and satisfying snack or meal perfect for sharing.
Ingredients
Fries
- 2-pound bag of Walmart brand seasoned fries
Meat and Toppings
- 1 pound hamburger meat
- Taco seasoning (amount per seasoning packet instructions)
- Cheese (shredded, quantity as desired)
Instructions
- Cook the fries: Prepare the seasoned fries according to the package instructions until they are crispy and golden brown.
- Brown the meat: In a skillet over medium heat, cook the hamburger meat until browned, breaking it up with a spoon.
- Season the meat: Add the taco seasoning to the browned meat along with any required water or ingredients as per the taco seasoning packet, stirring well to combine and let it simmer to absorb flavors.
- Melt the cheese: Sprinkle shredded cheese evenly over the seasoned meat in the skillet. Cover the skillet briefly to allow the cheese to melt completely.
- Assemble the nacho fries: Arrange the crispy fries on a large plate or dish, then spoon the cheesy taco meat mixture evenly over the fries.
- Serve and enjoy: Serve the loaded nacho fries immediately while hot for the best taste and texture.
Notes
- You can customize the toppings by adding jalapeños, sour cream, guacamole, or salsa for extra flavor.
- For a healthier option, bake the fries instead of frying.
- Use shredded cheddar or a Mexican cheese blend for authentic taste.
- Ground turkey or chicken can substitute hamburger meat for a leaner variation.

