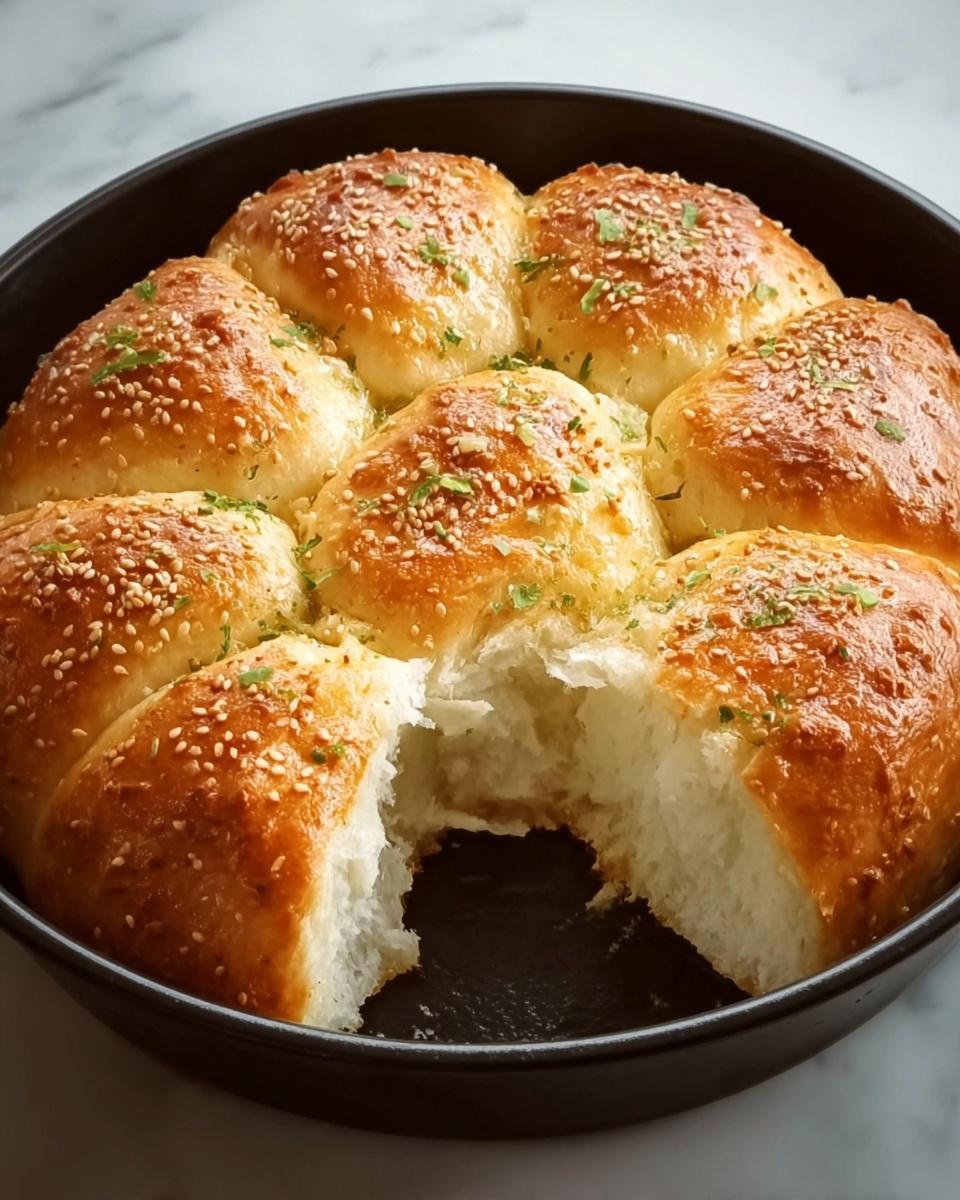
If you’ve ever wished for delicious homemade bread but don’t have an oven handy, you are in for a treat with this No-Oven Stovetop Boiled Bread Recipe. It’s a charming, comforting way to enjoy fresh bread that’s soft on the inside with a delightfully crispy crust, all made right on your stovetop. Simple ingredients come together through boiling and pan-frying to create a bread that feels warm, hearty, and absolutely satisfying. Whether you’re new to bread making or craving a cozy kitchen project, this recipe is a fantastic way to bring fresh bread to your table without needing an oven.
Ingredients You’ll Need
The beauty of this recipe is in its simplicity. With staple pantry ingredients, each plays a crucial role in achieving the perfect balance of softness, flavor, and texture for your stovetop bread.
- Flour (5 cups): The foundation of your bread, providing structure and that classic chewy texture we all adore.
- Warm milk (2 cups): Adds moisture and richness, helping create a tender crumb inside.
- Vegetable or canola oil (1 cup): Contributes to the bread’s softness and helps keep it fresh longer.
- Dry yeast (1 tablespoon): The magic starter that makes the dough rise and become airy.
- Granulated sugar (1 tablespoon): Feeds the yeast and adds a hint of sweetness to complement the savory notes.
- Salt (1 teaspoon + for boiling): Enhances the flavor and, when added to the boiling water, subtly seasons the bread’s exterior.
- Water for boiling (2.5 to 3 liters): Essential for the unique boiling step that helps create the bread’s soft texture before crisping.
How to Make No-Oven Stovetop Boiled Bread Recipe
Step 1: Activate the Yeast
Begin by stirring together the warm milk, sugar, and dry yeast in a large bowl. This little wait, about 5 to 10 minutes, is crucial because it allows the yeast to get frothy and alive – a promising sign that your bread will rise beautifully. If the mixture doesn’t foam, your yeast might be inactive, so it’s worth checking.
Step 2: Combine Ingredients to Form Dough
Next, add your flour, oil, and salt to the yeast mixture. Mix everything until the dough starts coming together. This is the foundation stage where ingredient harmony sets the stage for that perfect texture. If the dough feels too sticky, add a touch more flour; if it’s too stiff, splash in a little more milk. You want it workable and smooth.
Step 3: Knead Until Smooth and Stretchy
Turn your dough out onto a floured surface and knead it for about 8 to 10 minutes. The kneading process develops gluten, which is essential for giving bread its chewiness and stretch. You’ll notice the dough become more elastic and less sticky, a great sign that it’s ready for the next step.
Step 4: Let the Dough Rise
Place your kneaded dough into a greased bowl, cover it with a damp cloth, and set it somewhere warm. Let it rest for about an hour until it doubles in size. This rest period is like the dough taking a deep breath, growing airy and light courtesy of the yeast.
Step 5: Prepare Boiling Water
Fill a large pot with 2.5 to 3 liters of water and bring it to a rolling boil. Add a teaspoon of salt to season the water, which influences the bread’s surface flavor and texture.
Step 6: Shape and Boil the Dough
Punch down the risen dough to release air bubbles and divide it into small balls. Gently drop a few of these dough balls into the boiling water. They should float and puff up within 1 to 2 minutes. This boiling step cooks the dough inside out, resulting in a delightfully soft and hydrated interior that traditional baking alone won’t achieve.
Step 7: Pan-fry Until Golden and Crispy
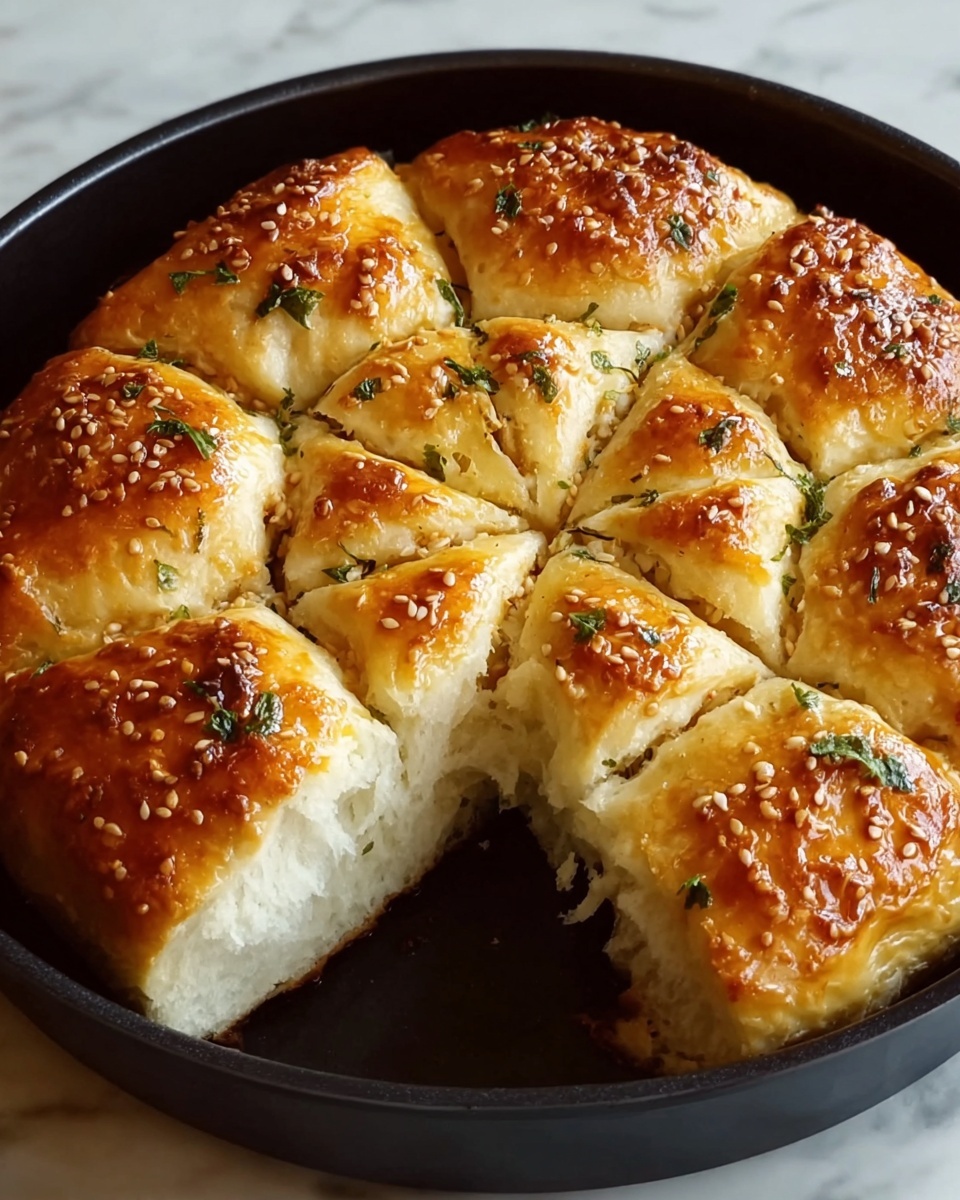
Heat a skillet or griddle over medium heat and carefully transfer the boiled bread pieces onto it. Cook each side for 2 to 3 minutes until they develop a beautiful golden crust. Press lightly with a spatula to ensure even browning and a satisfyingly crisp exterior that contrasts perfectly with the soft inside.
Step 8: Serve Warm and Enjoy
Your stovetop bread is best enjoyed fresh and warm. Serve it with butter, jam, or your favorite savory toppings for a comforting treat that feels like a warm hug on a plate.
How to Serve No-Oven Stovetop Boiled Bread Recipe
Garnishes
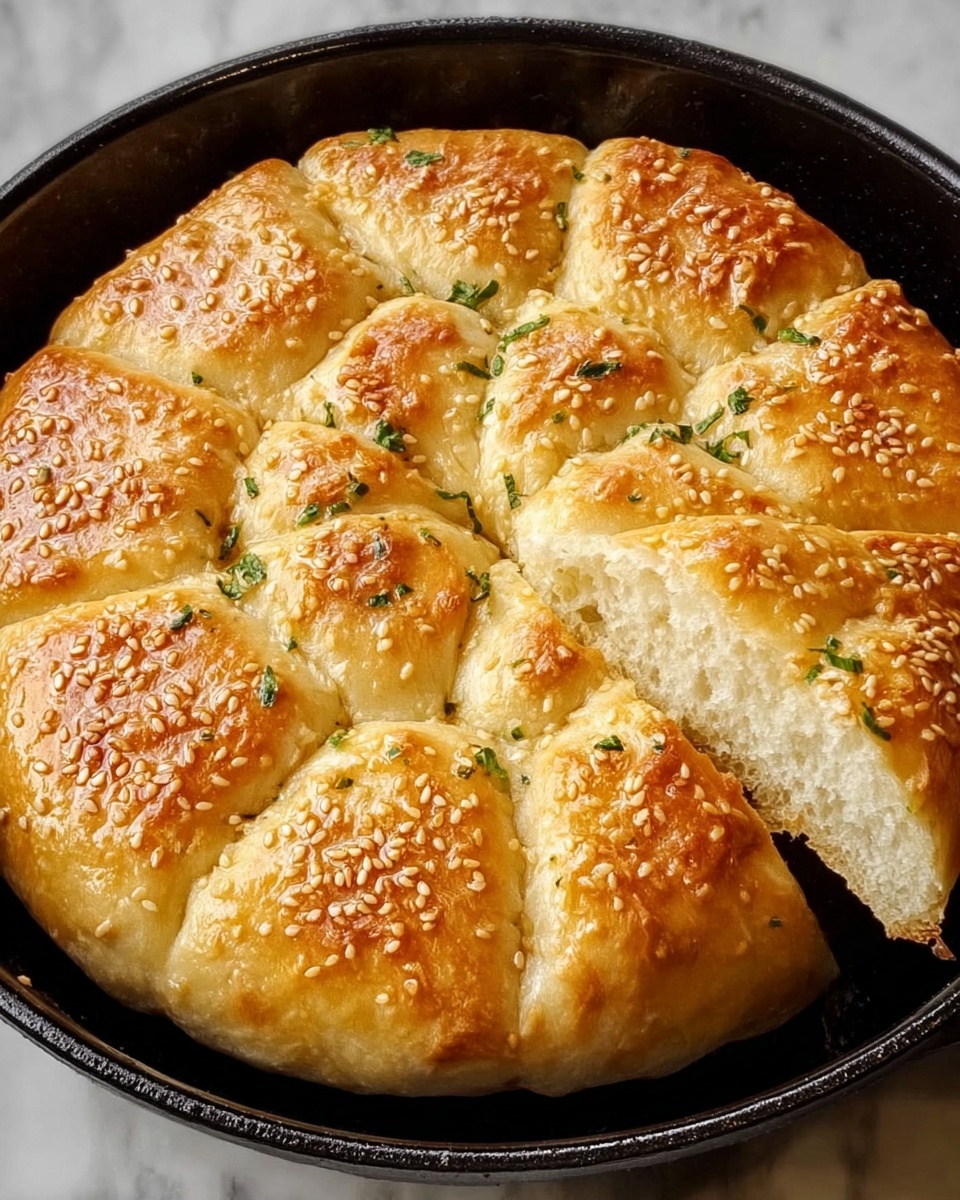
Sprinkling freshly chopped herbs like parsley or chives over your warm bread can elevate the look and add a fresh flavor pop. A light brush of melted butter or garlic oil on top before serving gives an irresistible sheen and aromatic touch.
Side Dishes
This bread pairs wonderfully with hearty soups, stews, or even just a bowl of creamy hummus. Its crispy outside and tender inside make it ideal for dipping or scooping, turning every bite into a delightful experience that complements any meal.
Creative Ways to Present
Try slicing the bread and using it as a base for open-faced sandwiches, layering with avocado, smoked salmon, or roasted veggies. You can also turn it into a quick breakfast by topping with honey and nuts, making this No-Oven Stovetop Boiled Bread Recipe a versatile canvas for your culinary creativity.
Make Ahead and Storage
Storing Leftovers
If you have any bread left, store it in an airtight container or plastic bag at room temperature. It will keep fresh for about two days, though it’s best enjoyed the same day for maximum flavor and texture.
Freezing
To extend the life of your stovetop bread, wrap each piece tightly in plastic wrap and store in a freezer-safe bag. When frozen, the bread can keep for up to three months without sacrificing quality.
Reheating
Reheat leftover bread by gently warming it in a skillet over low heat or popping it into a toaster. Avoid microwaving if possible, as it can make the crust chewy instead of crisp. Reheating gently restores that lovely toasted surface and soft interior, bringing your bread back to life.
FAQs
Can I use whole wheat flour instead of regular flour?
Absolutely! Whole wheat flour adds a nuttier flavor and denser texture. Just keep in mind you might need to adjust the liquid slightly, as whole wheat flour absorbs more moisture.
Is the boiling step really necessary?
Yes, boiling the dough balls is what sets this bread apart from typical stovetop breads. It cooks the inside thoroughly while creating a resilient crust when pan-fried, giving you that lovely chew and puffiness.
How do I know if my yeast is still active?
When you mix yeast with warm milk and sugar, you should see foaming or bubbling within 5 to 10 minutes. If nothing happens, your yeast might be expired or not activated properly.
Can this recipe be made vegan?
Definitely! Swap the milk for any plant-based milk like almond or soy, and use oil as specified. The bread will still turn out soft and flavorful with those substitutions.
What if I don’t have a skillet for pan-frying?
A non-stick frying pan or griddle works just as well. Just make sure it’s heated evenly to get that perfect golden crust on the bread.
Final Thoughts
This No-Oven Stovetop Boiled Bread Recipe is such a delightful remedy when you want fresh, homemade bread without firing up an oven. It’s rewarding, simple, and brings a wonderful homemade charm to any meal. I can’t recommend it enough for anyone passionate about bread or looking to experiment with stovetop cooking. Grab your ingredients, enjoy the process, and savor every bite of this lovely bread made with love and no oven required!
Print
No-Oven Stovetop Boiled Bread Recipe
- Prep Time: 15 minutes
- Cook Time: 15 minutes
- Total Time: 30 minutes
- Yield: 10 servings
- Category: Bread
- Method: Stovetop
- Cuisine: International
Description
This no-oven stovetop bread recipe yields soft, fluffy bread made entirely on the stovetop without any baking. The dough is boiled briefly to puff up and then pan-fried to achieve a golden crispy exterior while keeping a tender inside, perfect for a quick homemade bread option when you don’t have access to an oven.
Ingredients
For the Dough
- 5 cups all-purpose flour
- 2 cups warm milk
- 1 cup vegetable or canola oil
- 1 tablespoon dry yeast
- 1 tablespoon granulated sugar
- 1 teaspoon salt
For Boiling the Dough
- 2.5 – 3 liters water
- 1 teaspoon salt
Instructions
- Activate Yeast: In a large mixing bowl, combine warm milk, granulated sugar, and dry yeast. Stir gently and let the mixture sit for 5 to 10 minutes until it becomes frothy, indicating the yeast is active.
- Make Dough: Add flour, vegetable or canola oil, and salt to the yeast mixture. Mix thoroughly until a dough starts to form. Adjust the amount of flour or milk if necessary to achieve a soft, pliable dough.
- Knead Dough: Transfer the dough to a floured surface and knead for 8 to 10 minutes until it is smooth, elastic, and stretchy.
- First Rise: Lightly grease a bowl, place the kneaded dough inside, cover it with a damp cloth, and let it rise in a warm place for about 1 hour or until it doubles in size.
- Prepare Boiling Water: Fill a large pot with 2.5 to 3 liters of water, add 1 teaspoon salt, and bring it to a rolling boil.
- Shape and Boil Dough Balls: Punch down the risen dough and shape it into individual balls. Boil a few dough balls at a time for 1 to 2 minutes each until they puff up and float to the surface.
- Cook on Skillet: Heat a skillet or griddle over medium heat. Transfer the boiled dough pieces to the skillet and cook each side for 2 to 3 minutes until golden brown and crispy. Press lightly with a spatula for even cooking.
- Serve: Serve the stovetop bread warm with butter, jam, or your preferred toppings.
Notes
- Use warm milk to activate the yeast properly, not hot or cold.
- Do not overcrowd the pot when boiling dough balls to allow even cooking and puffing.
- The skillet should be preheated to medium heat to avoid burning or undercooking.
- This bread is best enjoyed fresh and warm but can be stored in an airtight container for up to 2 days.
- You can substitute vegetable oil with olive oil for a slightly different flavor.


