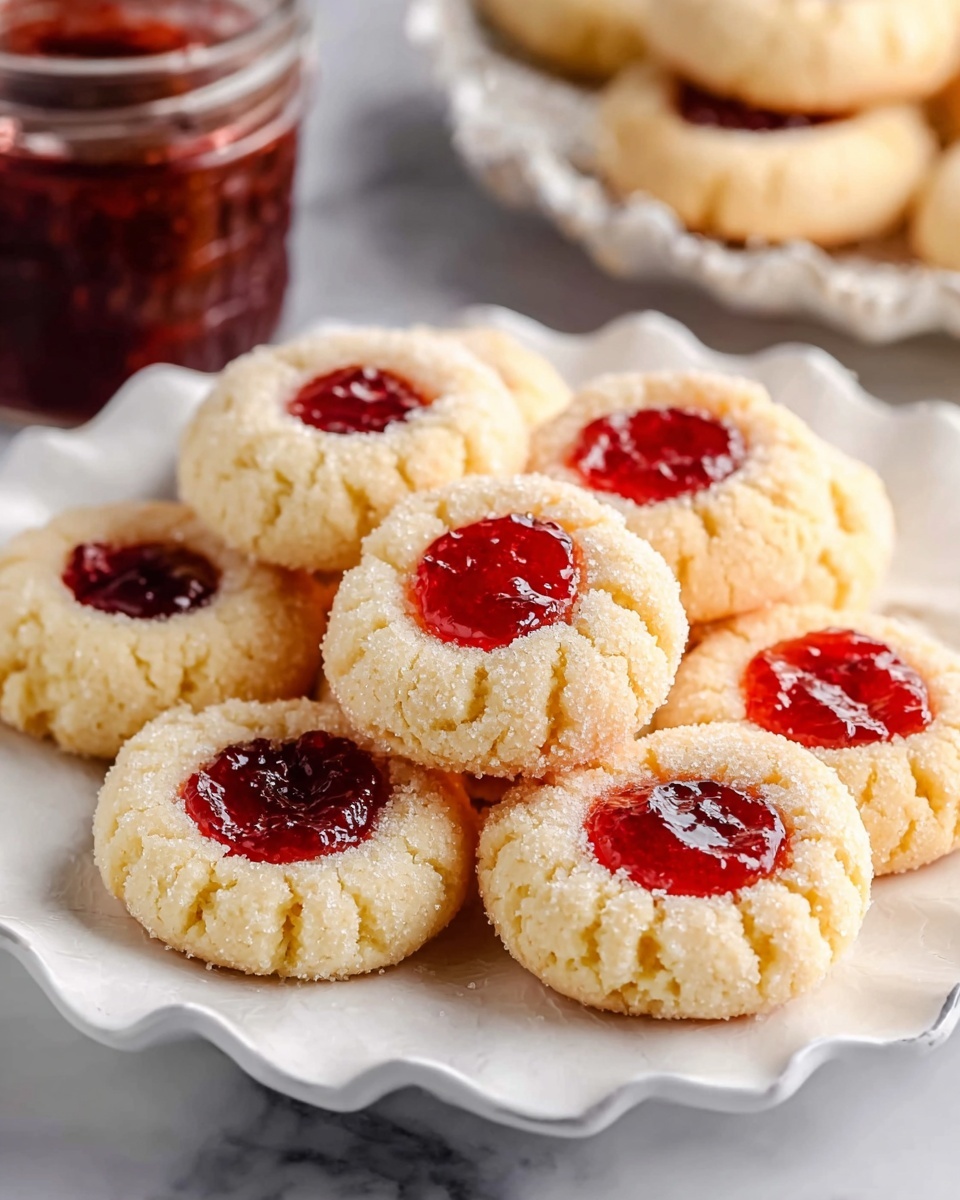
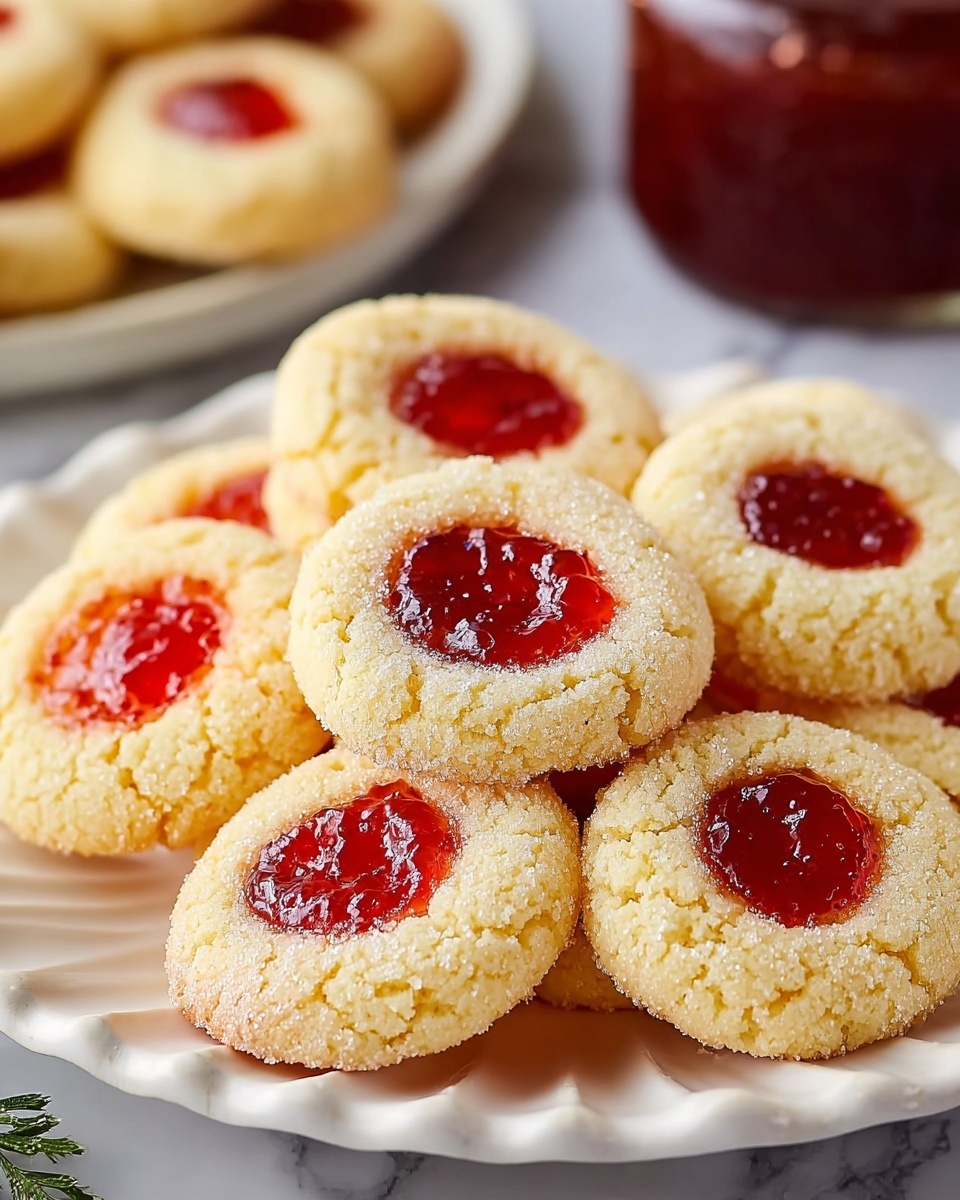
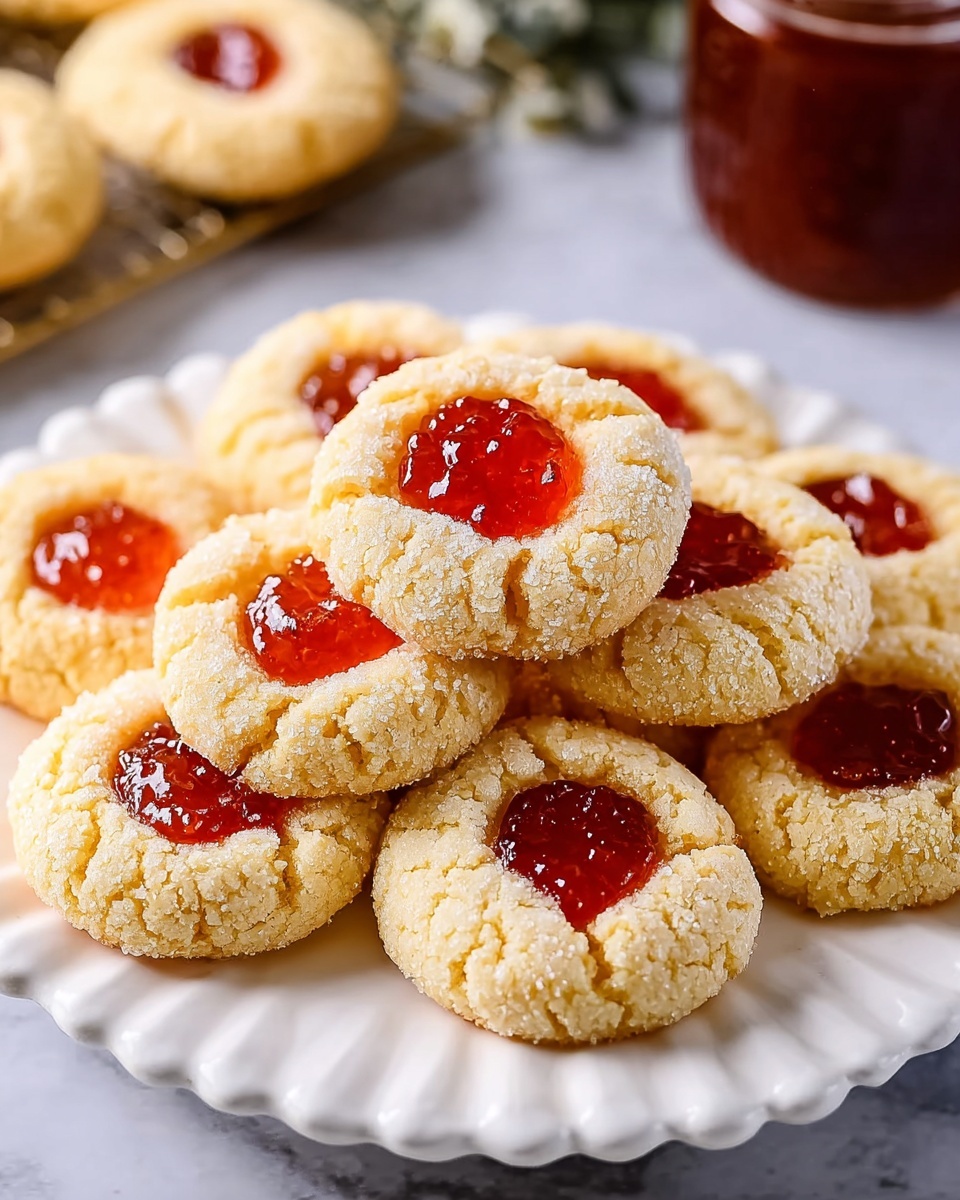
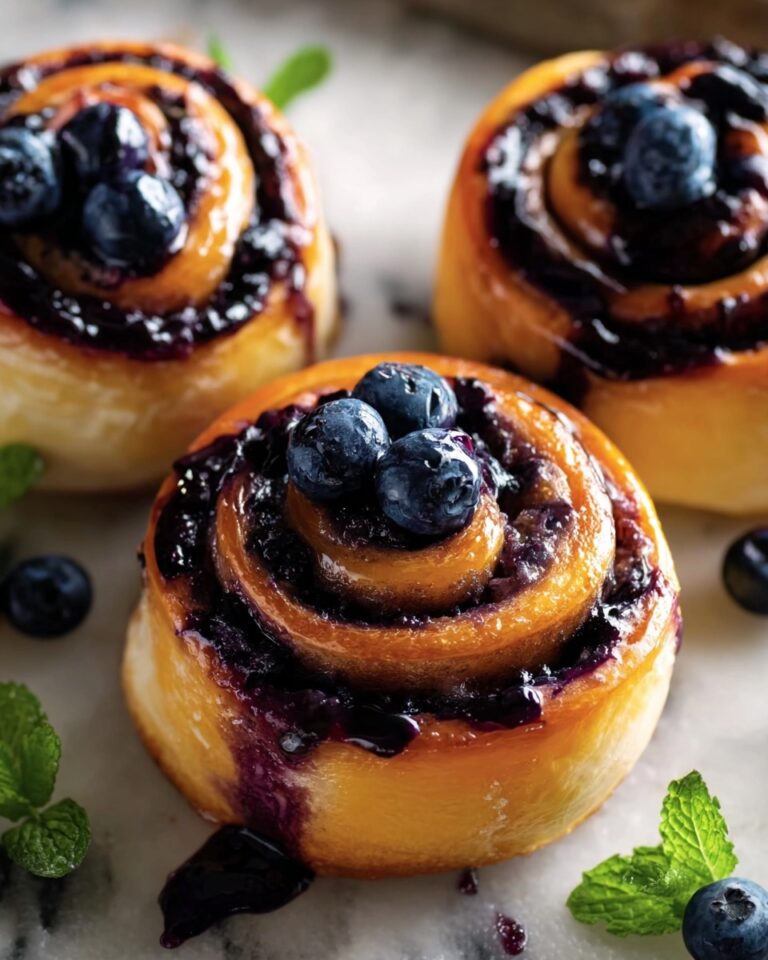
If you have a soft spot for cookies that blend buttery richness and fruity bursts of flavor, you absolutely must try this Thumbprint Cookies with Jam Centers Recipe. It’s a charming classic that never fails to delight with its tender crumb and glossy jam nestled perfectly in each indented center. Whether you’re baking for a holiday, a cozy afternoon tea, or simply because you deserve a sweet treat, these cookies bring warmth and joy in every bite. They’re surprisingly simple to make yet feel special enough to share with friends and family.
Ingredients You’ll Need
The best part about this Thumbprint Cookies with Jam Centers Recipe is that the ingredients are straightforward, making it easy to whip up these delightful cookies in no time. Each one plays a vital role: from the creamy butter that creates a tender texture to the jam that adds a vibrant pop of flavor and color.
- 1 cup unsalted butter, room temperature: Provides the rich, creamy base that makes these cookies melt in your mouth.
- ⅔ cup granulated sugar: Sweetens the dough perfectly without overpowering the jam centers.
- 1 teaspoon vanilla or almond extract: Adds a lovely aromatic note that complements the fruity jam.
- ½ teaspoon kosher salt: Balances the sweetness and enhances all flavors.
- 2 cups all-purpose flour: Gives structure and tenderness to the cookie dough.
- ¼ cup jam (apricot and seedless raspberry recommended): The star ingredient that adds color and bursts of fruity goodness.
- ⅓ cup granulated sugar (for coating): Creates a sweet, lightly crunchy coating on the cookie exterior.
How to Make Thumbprint Cookies with Jam Centers Recipe
Step 1: Cream Butter and Sugar
Start by placing your room temperature butter and granulated sugar in a stand mixer fitted with a paddle attachment. Beat them on medium speed for about 2 to 3 minutes until the mixture becomes light and creamy. This step is crucial as it incorporates air, ensuring your cookies turn out tender and fluffy.
Step 2: Add Extract and Salt
Next, add your choice of vanilla or almond extract along with kosher salt. Mixing these in now ensures that the flavor is evenly distributed throughout the dough, balancing sweetness and adding a hint of warmth.
Step 3: Incorporate the Flour
Scrape down the sides of your bowl to keep everything well mixed, then reduce your mixer speed to low and gradually add the all-purpose flour. Mix until the dough just comes together, then finish kneading by hand if necessary to avoid overworking, which could toughen the cookies.
Step 4: Chill the Dough
Form the dough into a smooth ball and wrap it tightly in plastic wrap. Refrigerate for at least one hour—this resting period firms up the dough, making it much easier to handle and helping the cookies maintain their shape during baking.
Step 5: Prepare for Baking
Preheat your oven to 350°F (175°C) and line baking sheets with parchment paper. The parchment prevents sticking and promotes even baking, giving your cookies a perfect base.
Step 6: Shape and Sugar-Coat the Dough Balls
Pour the ⅓ cup of granulated sugar into a shallow bowl. Scoop out about 1 tablespoon of dough, roll it into smooth balls, then gently coat each ball in the sugar. This simple step adds a delightful crunchy contrast to the soft cookie.
Step 7: Make the Thumbprint and Add Jam
Place each sugar-coated dough ball on your baking sheet and press your thumb gently into the center to create an indentation. Fill this well with about ½ teaspoon of your chosen jam, making sure it sits nestled and ready to bubble just right in the oven.
Step 8: Bake and Cool
Bake the cookies for 14 to 15 minutes, or until their edges just start to turn golden brown. Let them cool on the baking sheet for a minute before transferring to a wire rack to cool completely. This lets them set perfectly with a tender crumb and glossy jam center.
How to Serve Thumbprint Cookies with Jam Centers Recipe
Garnishes
For an extra touch of charm, dust your cookies lightly with powdered sugar just before serving. This offers a delicate sweetness and a pretty snowy effect that pairs beautifully with the colorful jam centers. You can also sprinkle a few chopped nuts like pistachios or almonds around the jam for added texture and a nutty twist.
Side Dishes
Thumbprint cookies shine as a companion to a warm cup of tea or coffee, making afternoon breaks feel truly special. They also pair wonderfully with a glass of cold milk or a scoop of vanilla ice cream for a decadent dessert experience that balances richness and fruitiness perfectly.
Creative Ways to Present
For parties or gifting, arrange these cookies on a festive platter lined with parchment paper and accentuated with fresh berries or edible flowers. You can even experiment with different jam flavors like blueberry, cherry, or lemon curd to add variety and surprise your guests with a delightful array of tastes and colors.
Make Ahead and Storage
Storing Leftovers
Store any leftover thumbprint cookies in an airtight container at room temperature. They will stay fresh for up to a week, maintaining their tender texture and vibrant jam centers, perfect for savoring over several days.
Freezing
If you want to savor these cookies later, freeze the baked and cooled cookies in a single layer on a baking sheet first, then transfer them to a freezer-safe container or zip-top bag. They freeze beautifully for up to three months, great for anytime indulgence.
Reheating
To bring frozen thumbprint cookies back to life, simply leave them at room temperature to thaw or gently warm them in a low oven (around 300°F) for 5 to 7 minutes. This refreshes the buttery softness and makes the jam centers delightfully gooey again.
FAQs
Can I use different types of jam in this Thumbprint Cookies with Jam Centers Recipe?
Absolutely! Apricot and seedless raspberry are classics for a reason, but you can use strawberry, blueberry, cherry, or even marmalade depending on your preference. Each brings a unique flavor and color that keeps the cookies exciting.
Is it okay to use salted butter instead of unsalted?
Using salted butter is possible, but reduce or omit the added kosher salt to avoid making the cookies too salty. Unsalted butter gives you better control over the final seasoning.
Can I make these cookies gluten-free?
Yes, by substituting the all-purpose flour with a gluten-free flour blend designed for baking, you can enjoy these cookies without gluten. Just be sure to check your jam for any gluten-containing additives.
Why is chilling the dough important in this recipe?
Chilling helps the dough firm up, which makes it easier to shape and prevents the cookies from spreading too much when baked. This keeps the jam centers nicely defined and the cookies soft.
How long can I store the cookie dough in the fridge before baking?
You can keep the wrapped dough in the refrigerator for up to 2 days before baking. Just bring it back to a workable temperature if too firm, and proceed with shaping and baking as usual.
Final Thoughts
This Thumbprint Cookies with Jam Centers Recipe truly feels like a warm hug in cookie form. Its golden, buttery texture combined with a jewel-like jam center is a snack that never goes out of style, perfect for sharing or keeping all to yourself. I hope you enjoy baking and indulging in these little bites of happiness as much as I do!
Print
Thumbprint Cookies with Jam Centers Recipe
- Prep Time: 15 minutes
- Cook Time: 15 minutes
- Total Time: 30 minutes
- Yield: 24-30 cookies
- Category: Dessert
- Method: Baking
- Cuisine: American
Description
Delight in these classic Thumbprint Cookies, with buttery, crumbly dough perfectly complemented by a sweet jam filling. These cookies are easy to prepare, making them an ideal treat for holidays or any cozy gathering. The slight crunch from the sugar coating and the fruity jam filling offer a delightful contrast in every bite.
Ingredients
Cookie Dough
- 1 cup unsalted butter, room temperature
- ⅔ cup granulated sugar
- 1 teaspoon vanilla extract or almond extract
- ½ teaspoon kosher salt
- 2 cups all-purpose flour
Filling & Coating
- ¼ cup jam (apricot and seedless raspberry recommended)
- ⅓ cup granulated sugar (for coating)
Instructions
- Cream Butter and Sugar: In a stand mixer bowl fitted with a paddle attachment, beat the unsalted butter and ⅔ cup granulated sugar on medium speed for 2 to 3 minutes until the mixture becomes light and creamy, setting the base for tender cookies.
- Add Flavorings and Salt: Incorporate 1 teaspoon of your choice of vanilla or almond extract along with ½ teaspoon kosher salt; mix until fully combined to enhance the dough’s flavor profile.
- Incorporate Flour: Scrape down the sides of the bowl to ensure even mixing, reduce the mixer speed to low, and gradually add 2 cups all-purpose flour. Continue mixing until the dough comes together, then finish kneading by hand if necessary to achieve a smooth consistency.
- Chill Dough: Form the dough into a ball, wrap tightly in plastic wrap, and refrigerate for 1 hour to firm up, which helps the cookies maintain their shape during baking.
- Prepare for Baking: Preheat your oven to 350°F (175°C) and line baking sheets with parchment paper to prevent sticking and ensure even heat distribution.
- Shape and Sugar-Coat Cookies: Place ⅓ cup granulated sugar in a shallow bowl. Scoop about 1 tablespoon of dough at a time, roll it into a smooth ball, and roll each ball in the sugar to coat. Arrange the coated dough balls spaced on the prepared baking sheets.
- Create Thumbprint and Fill: Using your thumb or the back of a spoon, press into the center of each dough ball to create an indentation. Fill each indentation with approximately ½ teaspoon of your chosen jam.
- Bake and Cool: Bake the cookies for 14 to 15 minutes until the edges turn a light golden brown. After baking, let cookies cool on the baking sheet for 1 minute, then transfer them to a wire rack to cool completely.
Notes
- For a richer flavor, try almond extract instead of vanilla.
- Chilling the dough is crucial to prevent spreading during baking.
- You can substitute jam flavors; raspberry and apricot are classic favorites.
- To store, keep cookies in an airtight container at room temperature for up to 5 days.
- These cookies freeze well; freeze unbaked dough balls coated in sugar, then bake directly from frozen, adding a couple of extra minutes to baking time.


