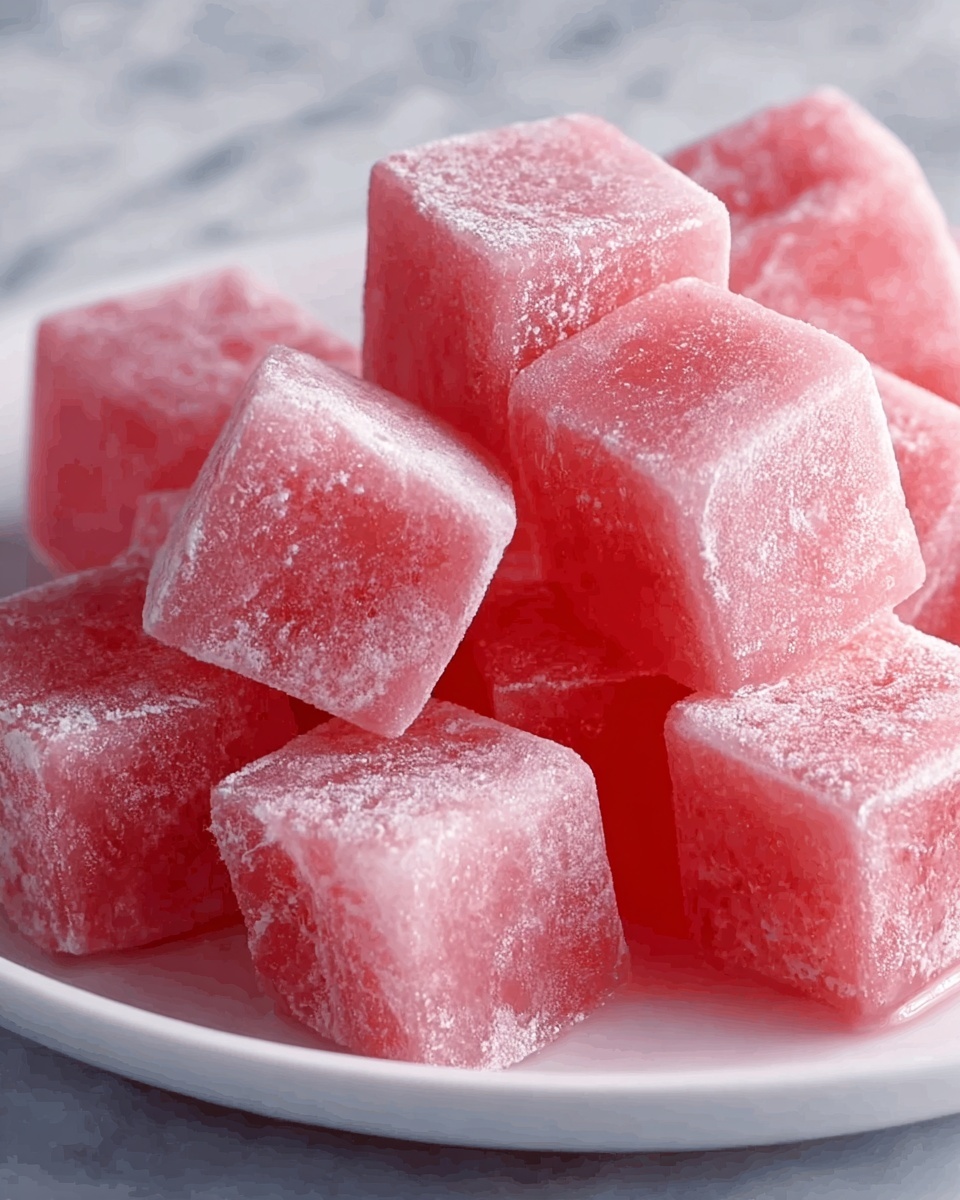
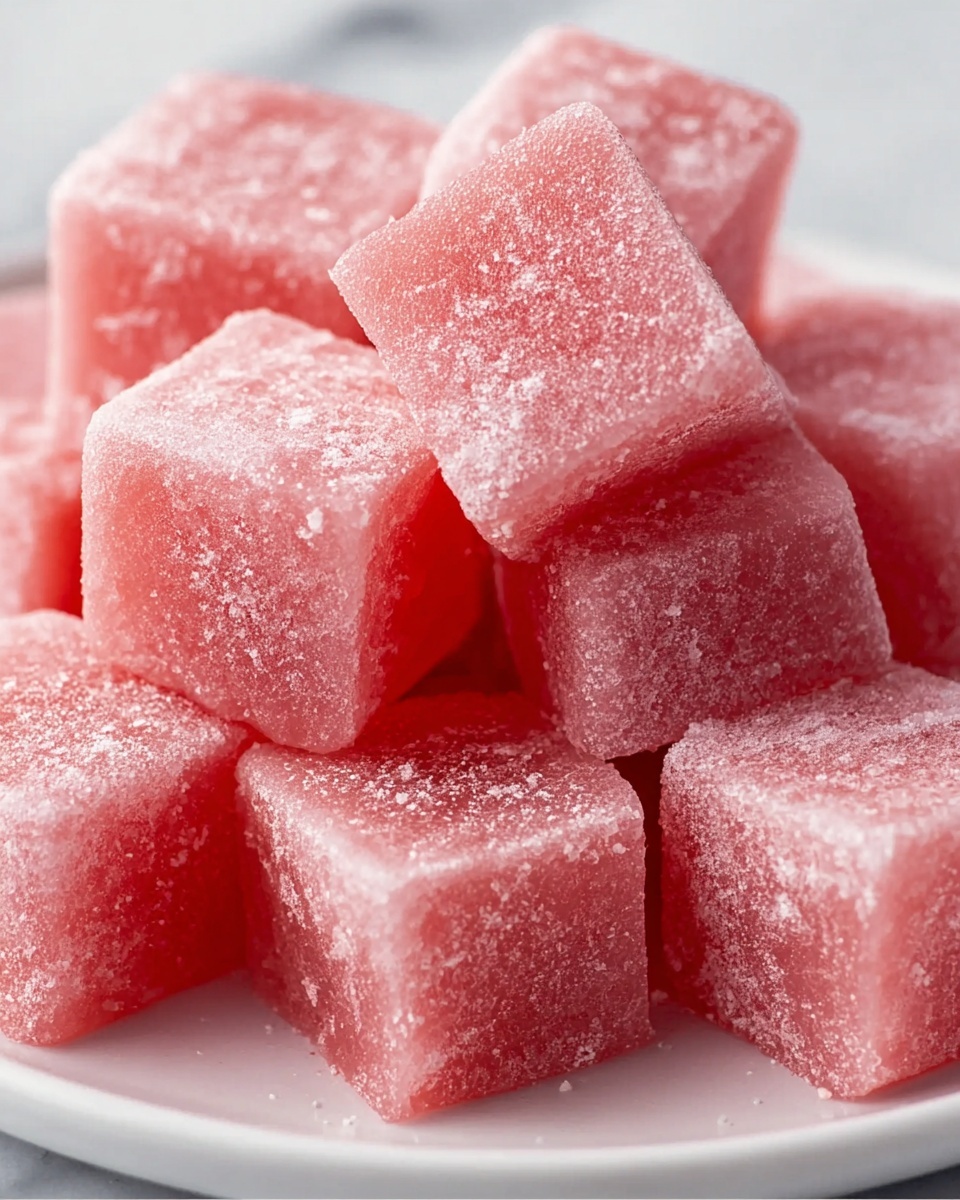
If you have a hankering for a refreshing and fun dessert that feels like a bite of summer wrapped in a soft, chewy delight, you are going to love this Watermelon Mochi Recipe. This playful twist on traditional mochi combines the sweet, juicy essence of watermelon with the wonderfully stretchy texture of glutinous rice flour. Lightly sweetened and tinted with a delicate pink hue, these little mochi treats are perfect for sharing or enjoying as a guilt-free snack anytime. Whether you’re a mochi pro or a curious newbie, the vibrant color and melon flavor will steal your heart from the very first bite.
Ingredients You’ll Need
This Watermelon Mochi Recipe is surprisingly simple, relying on just a handful of ingredients that each play a crucial role in making these mochi so irresistibly tasty and visually charming. From the gluey smooth mochiko flour to the natural watermelon juice that infuses every bite with fruity freshness, here’s what you’ll gather before diving into the fun kitchen magic.
- Glutinous rice flour (1 cup): The key to that signature chewy mochi texture everyone loves.
- Watermelon juice, strained (3/4 cup): Adds a fresh, summery sweetness and natural pink color.
- Granulated sugar (1/4 cup): Balances the tartness and enhances the flavor.
- Red or pink food coloring (2 to 3 drops, optional): Boosts the watermelon-inspired color if desired.
- Cornstarch or potato starch (for dusting): Prevents sticking and helps with shaping.
- Mini chocolate chips or black sesame seeds (optional): Adds a playful “seed” look that makes these mochi look like tiny watermelon slices.
How to Make Watermelon Mochi Recipe
Step 1: Mix Your Ingredients
Start by whisking together the glutinous rice flour, sugar, and watermelon juice in a microwave-safe bowl until your mixture is smooth and free of lumps. If you want that extra pop of pink, now’s the time to add your food coloring. This wet batter is the base of your mochi and it’s pretty magical how it transforms in just minutes!
Step 2: Microwave the Mixture
Cover your bowl loosely with plastic wrap or a microwave-safe plate to trap steam—this helps the mochi cook evenly without drying out. Microwave on high for 1 minute, then give it a good stir to redistribute heat. Continue microwaving in 30-second bursts, stirring each time, until the mix turns thick, glossy, and sticky. This usually takes about 2 to 3 minutes total, but microwaves vary, so keep a close eye on the texture.
Step 3: Prepare Your Work Surface
While the mochi heats, dust a clean work surface generously with cornstarch or potato starch. This keeps your mochi from sticking and makes rolling out and shaping much easier. Once the mochi dough is hot and sticky, transfer it carefully to your prepared surface and allow it to cool just enough so you can handle it without burning your fingers.
Step 4: Shape Your Mochi
Dust your hands with starch and pinch off small pieces of the mochi dough. You can roll these pieces into smooth little balls or flatten them out for filling if you want to get creative. To capture the watermelon vibe, gently press mini chocolate chips or black sesame seeds onto the surface to mimic watermelon seeds. This step is as much fun as it is tasty!
Step 5: Cool and Enjoy
Your mochi can be served at room temperature or chilled, whatever suits your preference. The texture remains satisfyingly chewy, with a natural melon sweetness that’s subtle yet unmistakable. Each bite is a delightful burst of summer wrapped in a soft, sticky, and colorful treat.
How to Serve Watermelon Mochi Recipe

Garnishes
Keep it simple or add a little flair with garnishes like a light dusting of powdered sugar or coconut flakes. For special occasions, a drizzle of sweetened condensed coconut milk paired with fresh mint leaves can elevate your presentation without overpowering the delicate watermelon notes.
Side Dishes
This mochi pairs beautifully with matcha green tea or a chilled jasmine tea to cleanse the palate between bites. For a more substantial pairing, some fresh fruit salad or a scoop of yuzu sorbet adds a refreshing contrast that complements the chewy sweetness perfectly.
Creative Ways to Present
Why not serve your Watermelon Mochi Recipe in colorful mini cupcake liners for an adorable individual treat? Or arrange them in a watermelon-themed platter alongside fresh watermelon cubes and berries for a summer party centerpiece guaranteed to wow your guests. Another cute idea is to skewer them with small fruit pieces to create playful mochi kebabs.
Make Ahead and Storage
Storing Leftovers
Mochi is best enjoyed the same day for optimal chewiness, but if you have leftovers, store them in an airtight container at room temperature for up to 24 hours. Avoid refrigeration as it can toughen the texture and dull the delicate watermelon flavor.
Freezing
You can freeze watermelon mochi by placing them on a parchment-lined tray and freezing until firm, then transferring them to a freezer-safe container. When ready to eat, thaw at room temperature. Keep in mind that the texture might be slightly different but still enjoyable.
Reheating
To soften refrigerated or frozen mochi, gently microwave for about 10 to 15 seconds wrapped in a damp paper towel to restore moisture and chewiness. Be careful not to overheat, or the mochi may become tough or dry.
FAQs
Can I use fresh watermelon instead of juice?
Yes! Blend fresh watermelon and strain it through a fine mesh sieve to remove pulp, yielding fresh juice perfect for this recipe. Using fresh juice enhances the natural flavor and color perfectly.
Is this recipe gluten-free?
Absolutely! Glutinous rice flour contains no wheat gluten, making this Watermelon Mochi Recipe safe for those avoiding gluten. Just ensure your other ingredients and toppings are also gluten-free.
Can I make filled mochi with this recipe?
Definitely! After flattening each piece of mochi dough, add a small piece of fresh watermelon or a spoonful of fruit jam in the center, then pinch the edges to seal before shaping. This adds a juicy surprise inside.
What if I don’t have a microwave?
You can cook the mochi dough on the stovetop over low heat, stirring constantly until thick and sticky, though it may take a bit longer and require more attention. The microwave method is just quicker and easier.
How long do watermelon mochi last?
For the best texture and flavor, eat them within the same day. Stored properly at room temperature, they can keep for up to 24 hours but may lose some chewiness over time.
Final Thoughts
This Watermelon Mochi Recipe is a delightful, easy-to-make treat that brings a splash of summer sweetness to any occasion. It’s fun indoors or out, gluten-free, vegan, and perfect for sharing with friends and family. I can’t wait for you to try it and discover how a few simple ingredients can turn into something truly special. Trust me, once you make these, they’ll become a favorite in your dessert rotation!
Print
Watermelon Mochi Recipe
- Prep Time: 10 minutes
- Cook Time: 3 minutes
- Total Time: 13 minutes
- Yield: 10 pieces
- Category: Dessert
- Method: Microwave
- Cuisine: Japanese-inspired
- Diet: Gluten Free, Vegan
Description
Watermelon Mochi is a delightful and refreshing Japanese-inspired dessert that combines the chewy texture of glutinous rice flour mochi with the sweet, juicy flavor of fresh watermelon. This easy microwave recipe yields soft, pink mochi balls, perfect for a light summer treat or an impressive party dessert. Garnished with mini chocolate chips or black sesame seeds to mimic watermelon seeds, these mochi are fun to make and even better to eat.
Ingredients
For the Mochi Dough:
- 1 cup glutinous rice flour (mochiko)
- 3/4 cup watermelon juice (strained to remove pulp)
- 1/4 cup granulated sugar
- 2 to 3 drops red or pink food coloring (optional)
For Dusting and Decoration:
- Cornstarch or potato starch (for dusting)
- Mini chocolate chips or black sesame seeds (for “seeds” decoration, optional)
Instructions
- Prepare the Mochi Mixture: In a microwave-safe bowl, whisk together the glutinous rice flour, granulated sugar, and watermelon juice until the mixture is smooth and consistent. Add 2 to 3 drops of red or pink food coloring if you want a brighter pink hue to resemble watermelon flesh.
- Microwave the Mochi Dough: Cover the bowl loosely with plastic wrap or a microwave-safe plate to prevent splatter. Microwave on high for 1 minute, then carefully remove and stir the mixture thoroughly. Continue microwaving in 30-second intervals, stirring after each, until the mochi dough becomes thick, glossy, and sticky. This process generally takes about 2 to 3 minutes total depending on your microwave’s power.
- Cool and Dust Surface: Lightly dust a clean work surface with cornstarch or potato starch to prevent sticking. Transfer the hot mochi dough carefully onto the dusted surface and let it cool until warm and safe to handle.
- Shape the Mochi: Once the dough has cooled slightly, dust your hands with starch and pinch off small pieces. Roll these into smooth balls or flatten them if you want to fill them. Optionally, insert a small piece of fresh watermelon or fruit jam for a filled mochi variation.
- Add “Watermelon Seeds” Decoration: Press mini chocolate chips or black sesame seeds gently into each mochi piece to resemble watermelon seeds, adding visual charm and a subtle flavor contrast.
- Serve: Serve the watermelon mochi at room temperature or chilled for a refreshing dessert experience. Enjoy the delicate, chewy texture combined with the summery watermelon flavor.
Notes
- Watermelon juice can be freshly made by blending seedless watermelon and straining through a fine mesh sieve to remove pulp for a smooth mochi texture.
- For a fun twist, try adding a small piece of fresh watermelon or fruit jam in the center of each mochi for a surprise filling.
- Mochi is best enjoyed the same day it is made to maintain optimal softness and chewiness.
- Use starch generously on your hands and surfaces to prevent sticking during shaping.
- If you don’t have a microwave, this recipe can be adapted to the stovetop by cooking the mixture over low heat, stirring constantly until thickened.


